Flat Network
1. Overview

Flat networks are very popular for small businesses and internal networks which cannot be accessed by traffics out of data center. A flat network is very easy to deploy, usually has only one L2 broadcast domain, and machines on it can access the internet through the core router of the data center. In this example, we assume you already have a subnet that has been routed to the internet; we will create a few VMs and assign them IPs from that subnet.
2. Prerequisites
We assume you have followed Quick Installation Guide to install ZStack on a single Linux machine, and the ZStack management node is up and running. To use the command line tool, type below command in your shell terminal:
#zstack-cli
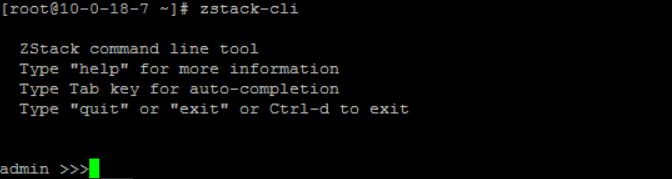
Connect to a remote management node
By default, zstack-cli connects to the ZStack management node on the local machine. To connect to a remote node, using option '-H ZSTACK_NODE_HOST_IP'; for example: zstack-cli -H 192.168.0.224To make things simple, we assume you have only one Linux machine with one network card that can access the internet; besides, there are some other requirements:
- At least 20G free disk that can be used as primary storage and backup storage
- Several free IPs that can access the internet
- NFS server is enabled on the machine (done in Quick Installation Guide)
- SSH credentials for user root (done in Quick Installation Guide)
Configure root user
The KVM host will need root user credentials of SSH, to allow Ansible to install necessary packages and to give the KVM agent full control of the host. As this tutorial use a single machine for both ZStack management node and KVM host, you will need to configure credentials for the root user.CentOS:
sudo su
passwd root
Based on those requirements, we assume below setup information:
- ethernet device name: eth0
- eth0 IP: 172.20.11.34
- free IP range: 10.0.101.100 ~ 10.0.101.150 (these IPs can access the internet)
- primary storage folder: /zstack_ps
- backup storage folder: /zstack_bs
Slow VM stopping due to lack of ACPID:
Though we don't show the example of stopping VM, you may find stopping a VM takes more than 60s. That's because the VM image doesn't support ACPID that receives KVM's shutdown event, ZStack has to wait for 60 seconds timeout then destroy it. It's not a problem for regular Linux distributions which have ACPID installed.Avoid DHCP conflict
Please make sure you don't have a DHCP server in the network because ZStack will spawn its own DHCP server; if you have a DHCP server in the network and cannot remove it, please use an IP range that is unlikely used by your DHCP server, otherwise the VM may not receive an IP from ZStack's DHCP server but from yours.3. LogIn
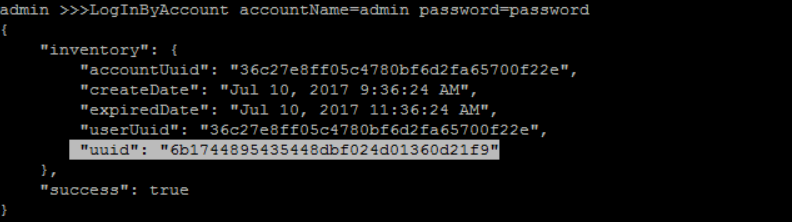
open zstack-cli and login with admin/password:
>>> LogInByAccount accountName=admin password=password
4. Create Zone
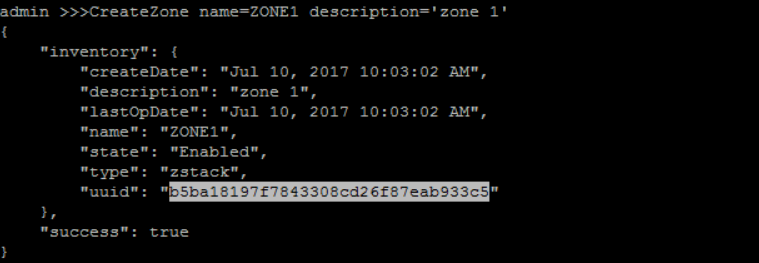
create a zone with name 'ZONE1' and description 'zone 1':
>>> CreateZone name=ZONE1 description='zone 1'
Substitute your UUIDs for those in this tutorial
Resources are all referred by UUIDs in CLI tutorials. The UUIDs are generated by ZStack when you create a resource, so they may vary from what you see in tutorials. UUIDs of resources will be printed out in a JSON object to the screen after resources are created; however, it's inconvenient to scroll up screen to find UUIDs of resources that are created very early. We add buttons to sections, which will show you commands of retrieving UUIDs of resources,
so please make sure you replace UUIDs in tutorials with yours.
to sections, which will show you commands of retrieving UUIDs of resources,
so please make sure you replace UUIDs in tutorials with yours.
5. Create Cluster
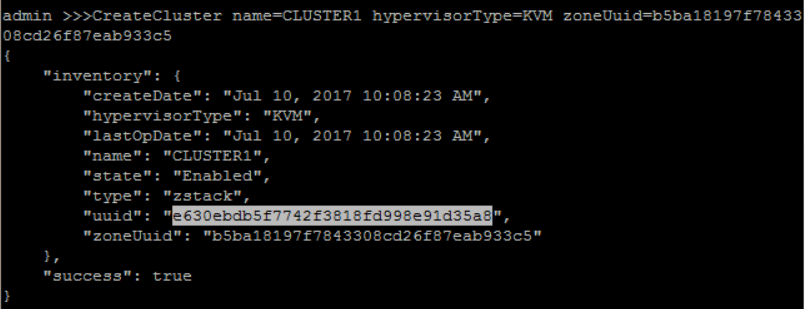
create a cluster with name 'CLUSTER1' and hypervisorType 'KVM' under zone 'ZONE1':
QueryZone fields=uuid, name=ZONE1>>> CreateCluster name=CLUSTER1 hypervisorType=KVM zoneUuid=b5ba18197f7843308cd26f87eab933c5
6. Create Host
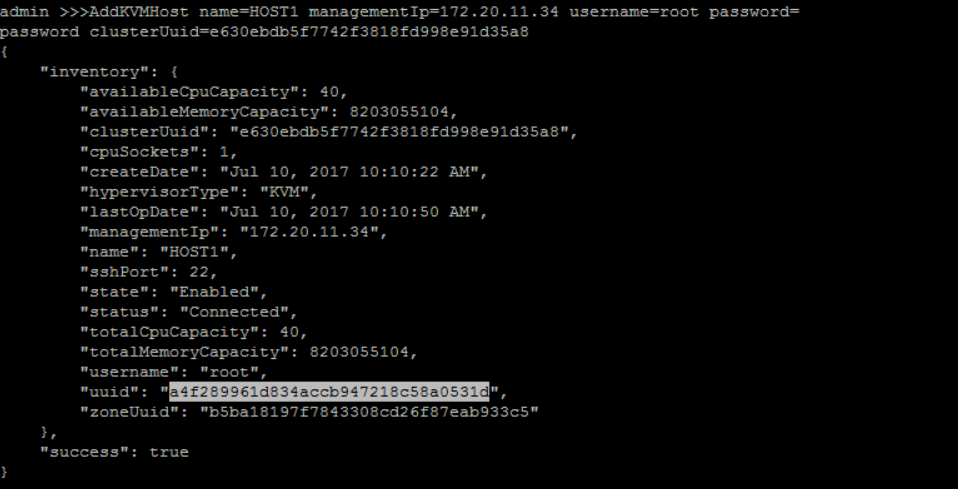
add KVM Host 'HOST1' under 'CLUSTER1' with correct host IP address and root username and password:
QueryCluster fields=uuid, name=CLUSTER1>>> AddKVMHost name=HOST1 managementIp=172.20.11.34 username=root password=password clusterUuid=e630ebdb5f7742f3818fd998e91d35a8
A little slow when first time adding a host
It may take a few minutes to add a host because Ansible will install all dependent packages, for example, KVM, on the host.7. Add Primary Storage
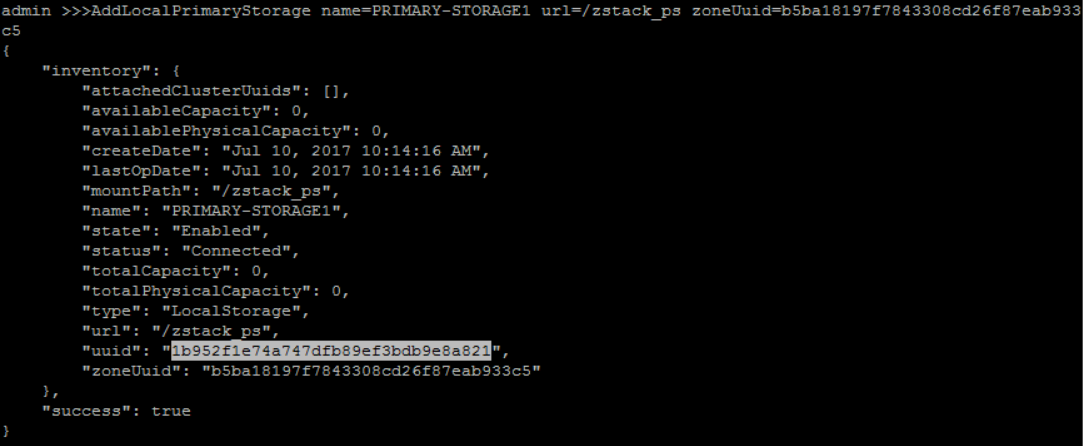
add Primary Storage 'PRIMAYR-STORAGE1' with NFS URI '10.0.101.20:/usr/local/zstack/nfs_root' under zone 'ZONE1':
QueryZone fields=uuid, name=ZONE1>>> AddLocalPrimaryStorage name=PRIMARY-STORAGE1 url=/zstack_ps zoneUuid=b5ba18197f7843308cd26f87eab933c5
Format of URL
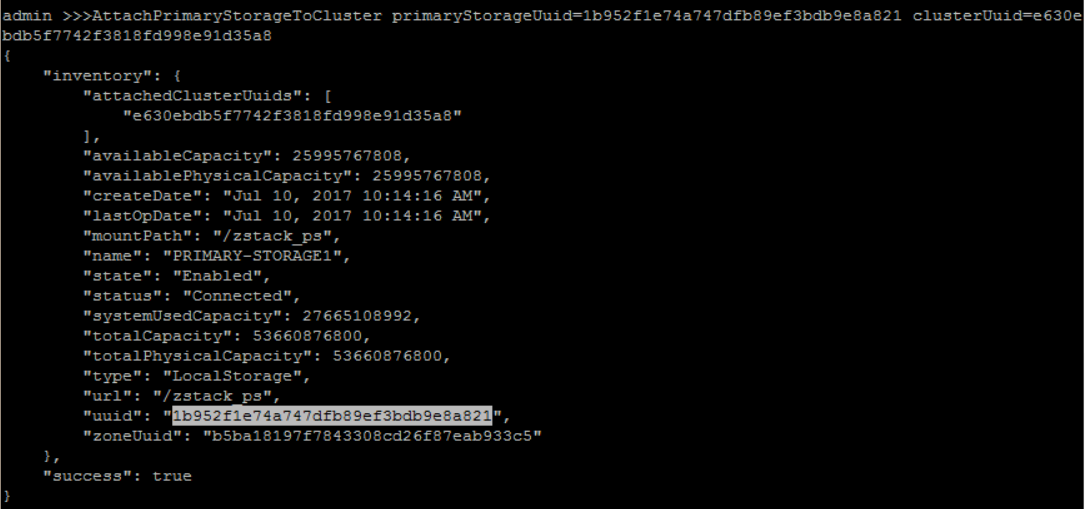
The format of URL is exactly the same to the one used by Linux mount command.attach 'PRIMARY-STORAGE1' to 'CLUSTER1':
QueryCluster fields=uuid, name=CLUSTER1QueryPrimaryStorage fields=uuid, name=PRIMARY-STORAGE1>>> AttachPrimaryStorageToCluster primaryStorageUuid=1b952f1e74a747dfb89ef3bdb9e8a821 clusterUuid=e630ebdb5f7742f3818fd998e91d35a8
8. Add Backup Storage
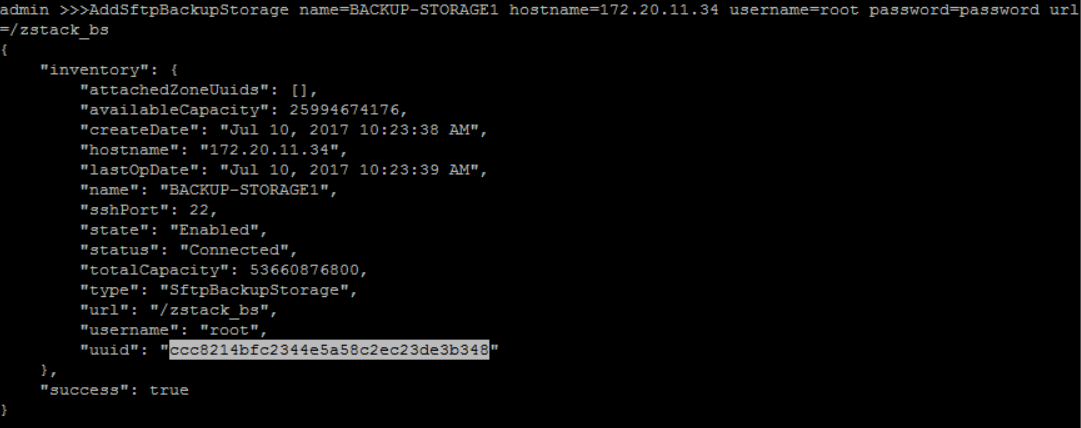
add sftp Backup Storage 'BACKUP-STORAGE1' with its IP address('172.20.11.34'), root username('root'), password('password') and sftp folder path('/zstack_bs'):
>>> AddSftpBackupStorage name=BACKUP-STORAGE1 hostname=172.20.11.34 username=root password=password url=/zstack_bs
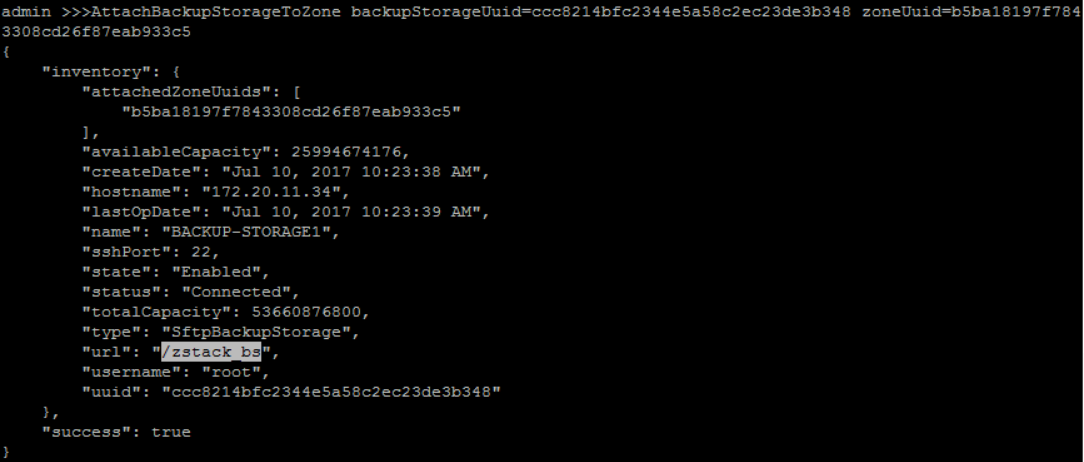
attach new created Backup Storage('BACKUP-STORAGE1') to zone('ZONE1'):
QueryZone fields=uuid, name=ZONE1QueryBackupStorage fields=uuid, name=BACKUP-STORAGE1>>> AttachBackupStorageToZone backupStorageUuid=ccc8214bfc2344e5a58c2ec23de3b348 zoneUuid=b5ba18197f7843308cd26f87eab933c5
9. Add Image
add Image('image') with format 'qcow2', 'RootVolumeTemplate' type, 'Linux' platform and image URL('http://cdn.zstack.io/product_downloads/images/zstack-image.qcow2') to backup storage ('BACKUP-STORAGE1'):
QueryBackupStorage fields=uuid, name=BACKUP-STORAGE1>>> AddImage name=image mediaType=RootVolumeTemplate platform=Linux url=http://192.168.200.100/mirror/diskimages/zstack-image-1.4.qcow2 backupStorageUuids=ccc8214bfc2344e5a58c2ec23de3b348 format=qcow2
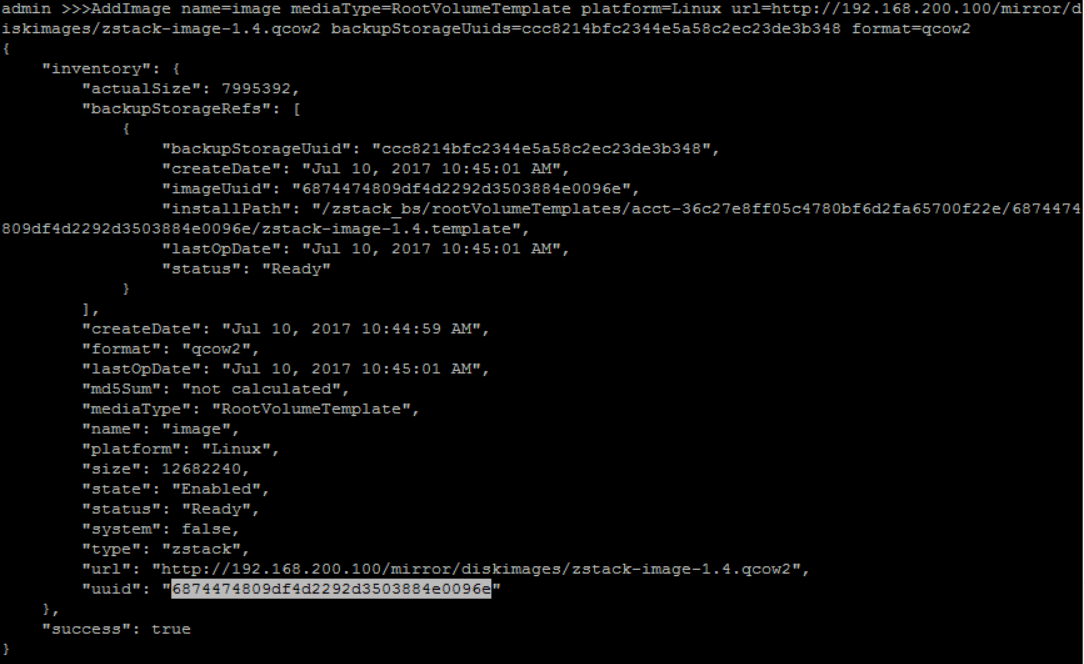
this image will be used as user VM image.
add another Image('vrouter') with format 'qcow2', 'RootVolumeTemplate' type, 'Linux' platform and image URL(http://cdn.zstack.io/product_downloads/vrouter/zstack-vrouter-2.0.0.qcow2) to backup storage ('BACKUP-STORAGE1'):
QueryBackupStorage fields=uuid, name=BACKUP-STORAGE1Fast link for users of Mainland China
.................................http://cdn.zstack.io/product_downloads/vrouter/zstack-vrouter-2.0.0.qcow2>>> AddImage name=vrouter mediaType=RootVolumeTemplate platform=Linux url=http://192.168.200.100/mirror/diskimages/zstack-vrouter-latest.qcow2 backupStorageUuids=ccc8214bfc2344e5a58c2ec23de3b348 format=qcow2

this image will be used as Virtual Router VM image.
Cache images in your local HTTP server
The virtual router image is about 432M that takes a little of time to download. We suggest you use a local HTTP server to store it and images created by yourself.10. Create L2 Network
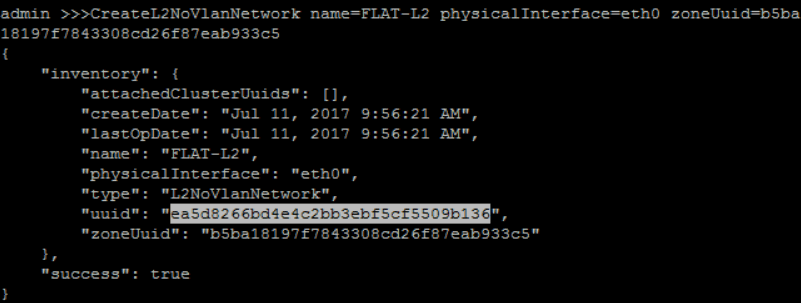
create No Vlan L2 Network 'FLAT-L2' with physical interface as 'eth0' under 'ZONE1':
QueryZone fields=uuid, name=ZONE1>>> CreateL2NoVlanNetwork name=FLAT-L2 physicalInterface=eth0 zoneUuid=b5ba18197f7843308cd26f87eab933c5
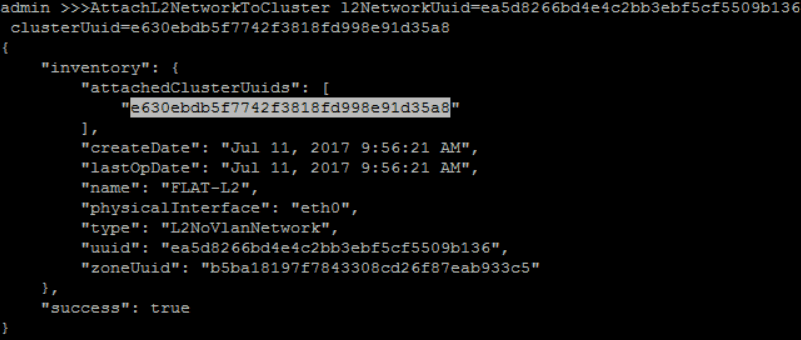
attach 'FLAT-L2' to 'CLUSTER1':
QueryCluster fields=uuid, name=CLUSTER1QueryL2Network fields=uuid, name=FLAT-L2>>> AttachL2NetworkToCluster l2NetworkUuid=ea5d8266bd4e4c2bb3ebf5cf5509b136 clusterUuid=e630ebdb5f7742f3818fd998e91d35a8
11. Create L3 Network
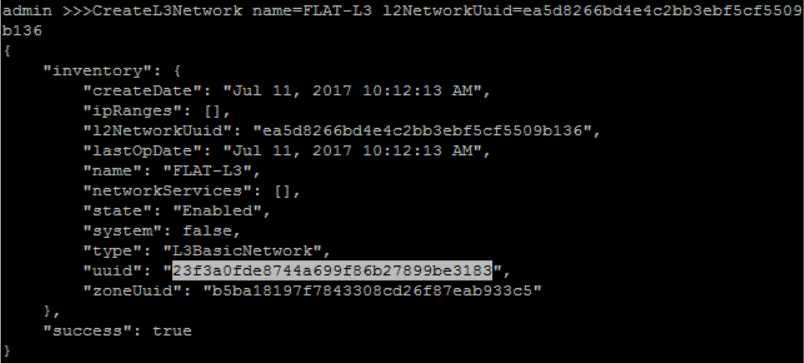
create 'FLAT-L3' L3 network on FLAT-L2 L2 network:
QueryL2Network fields=uuid, name=FLAT-L2>>> CreateL3Network name=FLAT-L3 l2NetworkUuid=ea5d8266bd4e4c2bb3ebf5cf5509b136
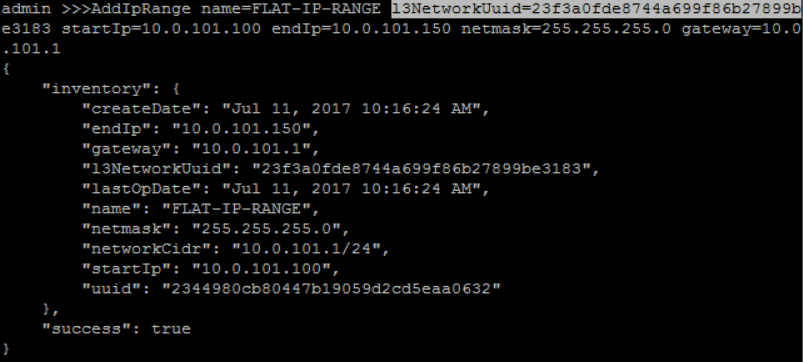
create IP Range for 'FLAT-L3':
QueryL3Network fields=uuid, name=FLAT-L3>>> AddIpRange name=FLAT-IP-RANGE l3NetworkUuid=23f3a0fde8744a699f86b27899be3183 startIp=10.0.101.100 endIp=10.0.101.150 netmask=255.255.255.0 gateway=10.0.101.1
add DNS for 'FLAT-L3':
QueryL3Network fields=uuid, name=FLAT-L3>>> AddDnsToL3Network l3NetworkUuid=23f3a0fde8744a699f86b27899be3183 dns=8.8.8.8

we need to get UUIDs of available network service providers, before attaching virtual router services to L3 network:
>>> QueryNetworkServiceProvider
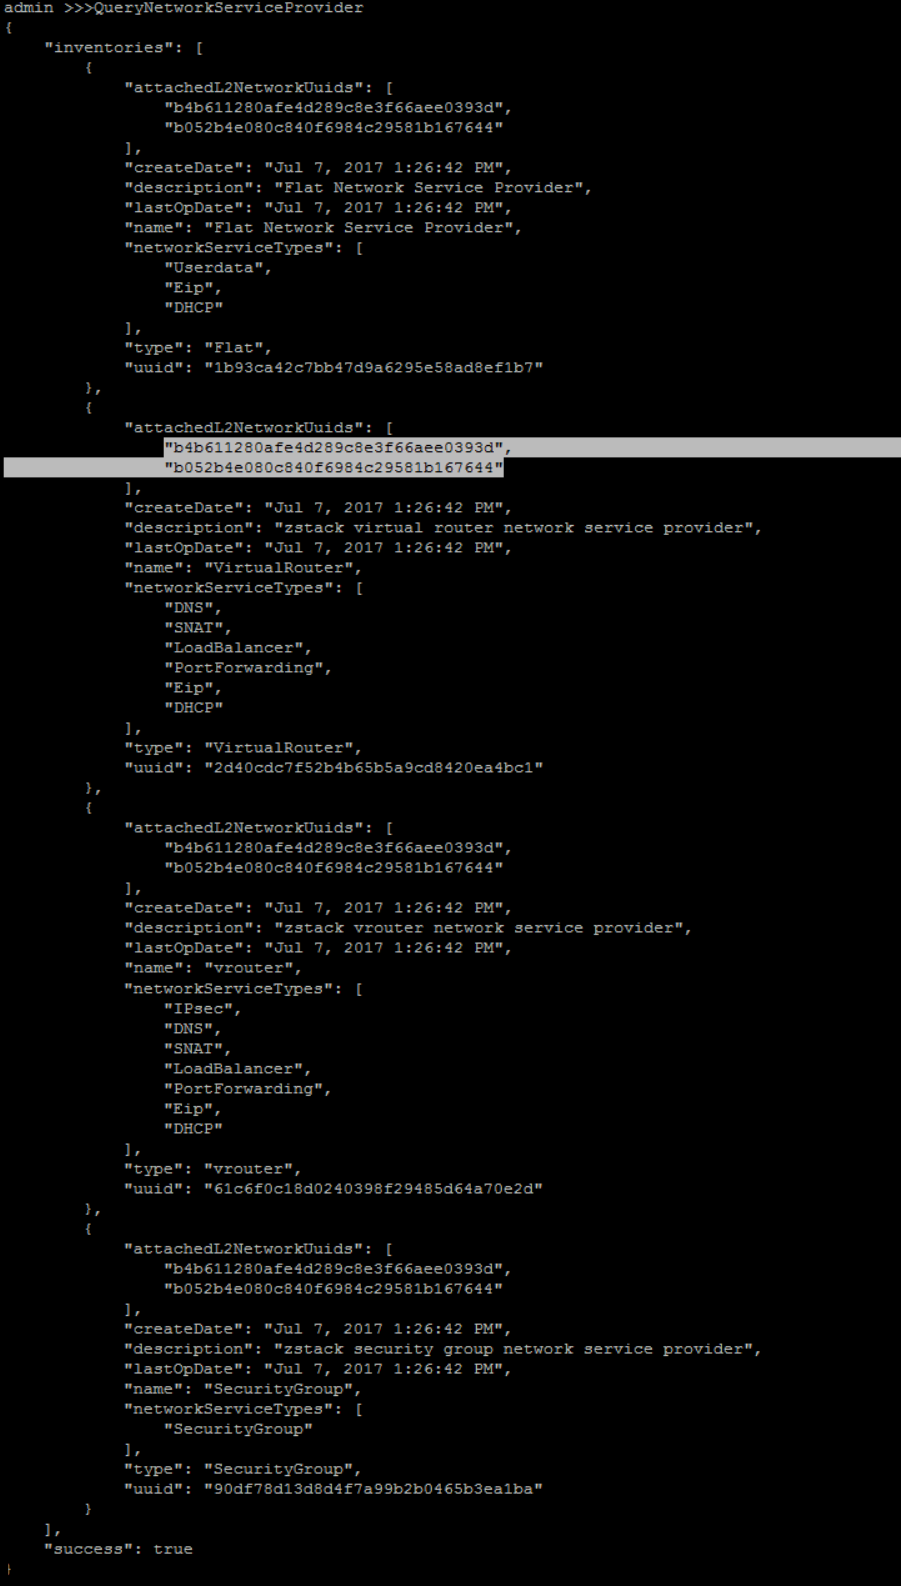
there are 2 available network service providers. In this tutorial, we just need the 'FLAT', which could provide 'Userdata', 'DHCP' and 'Eip'.
attach flat network services 'DHCP', 'Eip' and 'Userdata' to 'FLAT-L3':
QueryL3Network fields=uuid, name=FLAT-L3QueryNetworkServiceProvider fields=uuid, name=VirtualRouter>>> AttachNetworkServiceToL3Network networkServices="{'1b93ca42c7bb47d9a6295e58ad8ef1b7':['Userdata','DHCP','Eip']}" l3NetworkUuid=23f3a0fde8744a699f86b27899be3183
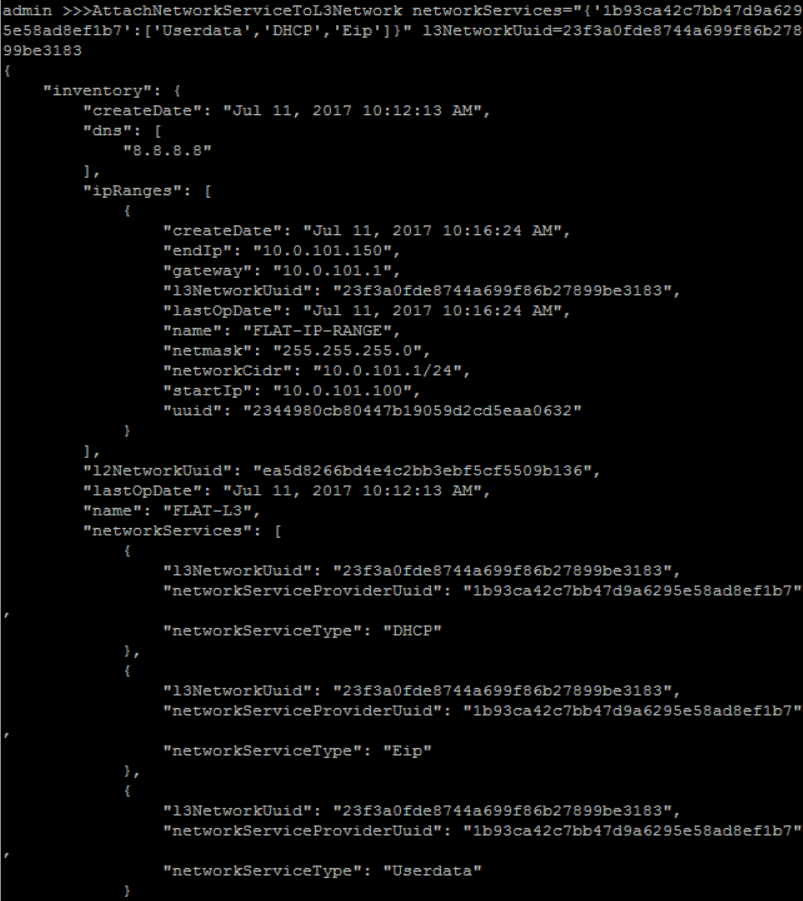
Structure of parameter networkServices
It's a JSON object of map that key is UUID of network service provider and value is a list of network service types.12. Create Instance Offering
create a guest VM instance offering 'small-instance' with 1 512Mhz CPU and 128MB memory:
>>> CreateInstanceOffering name=small-instance memorySize=134217728 cpuNum=1

14. Create Virtual Machine
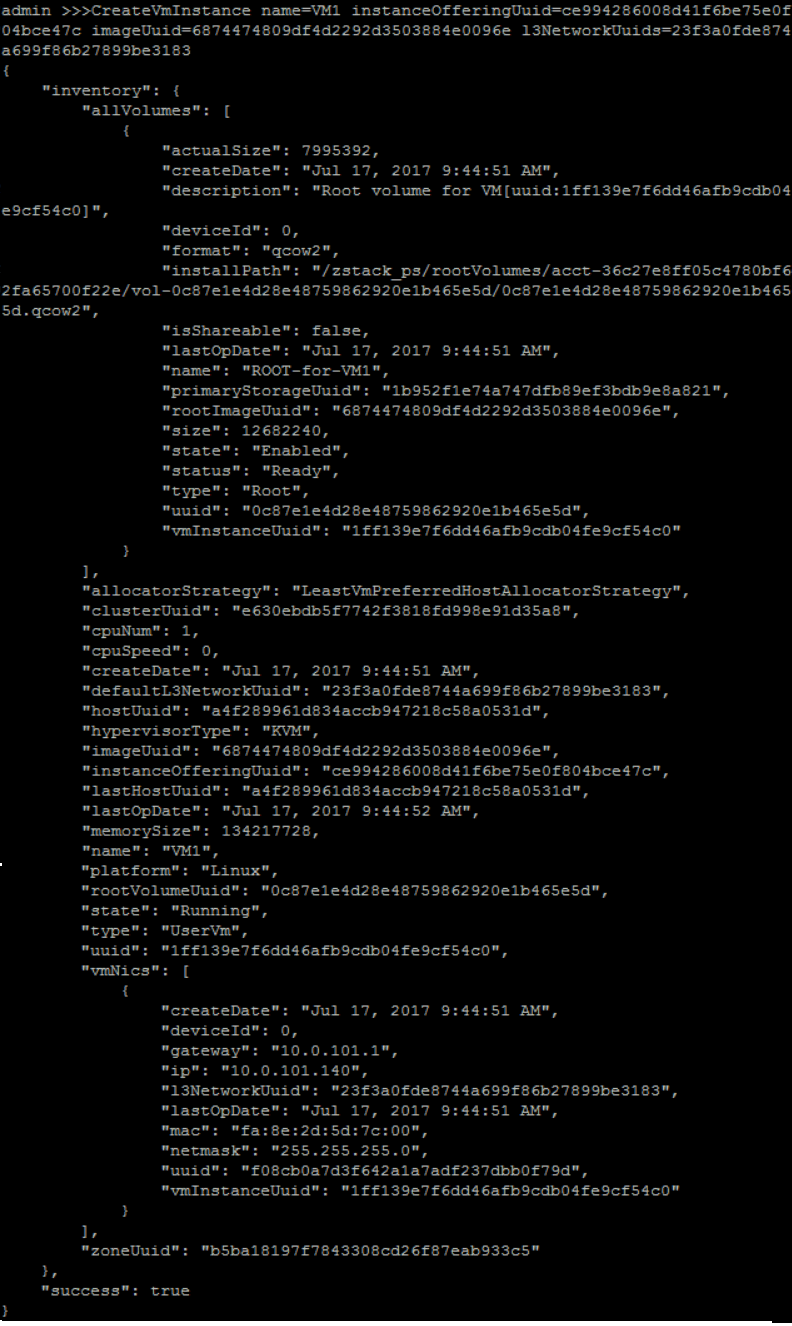
create a new guest VM instance with instance offering 'small-instance', image 'zs-sample-image', L3 network 'FLAT-L3', name 'VM1' and hostname 'vm1'
QueryInstanceOffering fields=uuid, name=small-instanceQueryImage fields=uuid, name=zs-sample-imageQueryL3Network fields=uuid, name=FLAT-L3>>> CreateVmInstance name=VM1 instanceOfferingUuid=ce994286008d41f6be75e0f804bce47c imageUuid=6874474809df4d2292d3503884e0096e l3NetworkUuids=23f3a0fde8744a699f86b27899be3183
The first user VM takes more time to create
For the first user VM, ZStack needs to download the image from the backup storage to the primary storage and create a virtual router VM on the private L3 network, so it takes about 1 ~ 2 minutes to finish.from VM creation result, you can get the new created VM IP address is 10.0.101.126
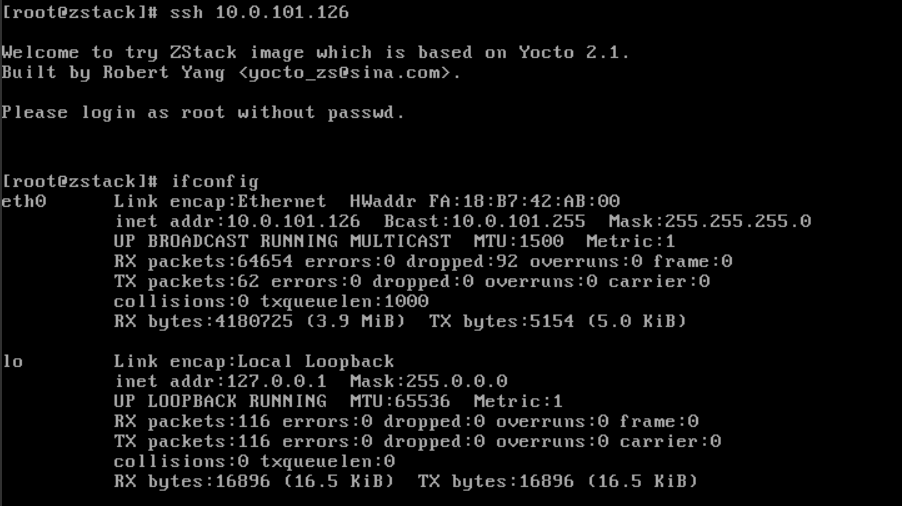
once the VM is created successfully, you can ssh to Login onto it through any machine that can reach subnet 10.0.101.0/24 and use 'ifconfig' to show the IP address.
QueryVmNic fields=ip vmInstance.name=VM1#ssh root@10.0.101.126
Summary
In this tutorial, we showed you how to create a flat network in ZStack. For more details about ZStack's L3 network, visit L3 Network in user manual.