Security Group
1. Overview
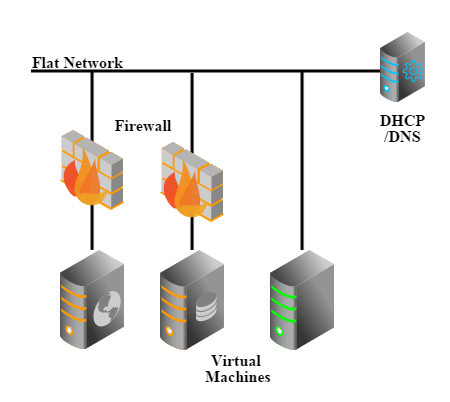
Security group is a virtual firewall that can control the traffic for a group of VMs. In this example, we will create a flat network with a security group, then create one VM(INNER-VM) in the security group while another VM(OUTER-VM) out of the security group. The security group will initially contain a rule opening port 22 to the OUTER-VM; we will confirm OUTER-VM can SSH login the INNER-VM; later on, we will remove the only rule and confirm OUTER-VM cannot SSH login INNER-VM anymore.
2. Prerequisites
We assume you have followed installation guide to install ZStack on a single Linux machine, and the ZStack management node is up and running. To access the web UI, type below URL in your browser (Please use latest Chrome or Firefox browser.):
http://your_machine_ip:5000/
To make things simple, we assume you have only one Linux machine with one network card that can access the internet; besides, there are some other requirements:
- At least 20G free disk that can be used as primary storage and backup storage
- Several free IPs that can access the internet
- NFS server is enabled on the machine (see end of this section for automatically setup NFS)
- SSH credentials for user root
Configure root user
The KVM host will need root user credentials of SSH, to allow Ansible to install necessary packages and to give the KVM agent full control of the host. As this tutorial use a single machine for both ZStack management node and KVM host, you will need to configure credentials for the root user.CentOS:
sudo su
passwd root
Based on those requirements, we assume below setup information:
- ethernet device name: eth0
- eth0 IP: 172.20.11.45
- free IP range: 192.168.0.230 ~ 192.168.0.240
- primary storage folder: /zstack_ps
- backup storage folder: /zstack_bs
Slow VM stopping due to lack of ACPID:
Though we don't show the example of stopping VM, you may find stopping a VM takes more than 60s. That's because the VM image doesn't support ACPID that receives KVM's shutdown event, ZStack has to wait for 60 seconds timeout then destroy it. It's not a problem for regular Linux distributions which have ACPID installed.Avoid DHCP conflict
Please make sure you don't have a DHCP server in the network because ZStack will spawn its own DHCP server; if you have a DHCP server in the network and cannot remove it, please use an IP range that is unlikely used by your DHCP server, otherwise the VM may not receive an IP from ZStack's DHCP server but from yours.3. LogIn
open browser with URL(http://your_machine_ip:5000/) and login with admin/password:
4. Create Zone
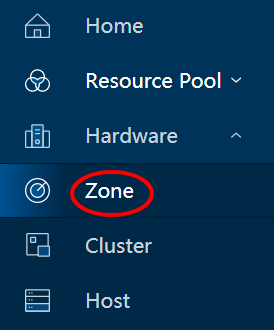
click 'Hardware' in the left sidebar and then click 'Zone'to enter the zone page:
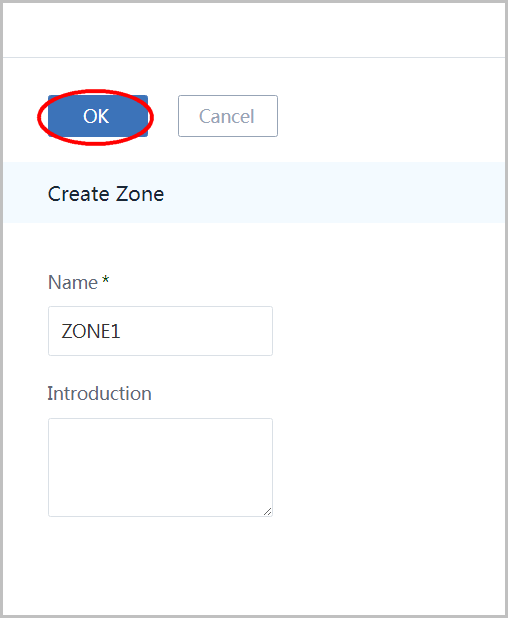
click button 'Create Zone' to open the dialog:

name your first zone as 'ZONE1' and click button 'OK':
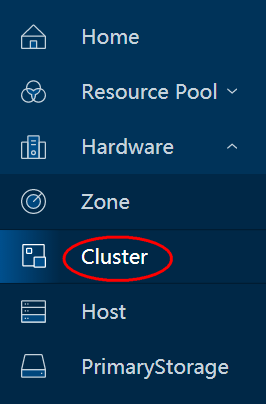
5. Create Cluster
click 'Cluster' in the left sidebar to enter the cluster page:
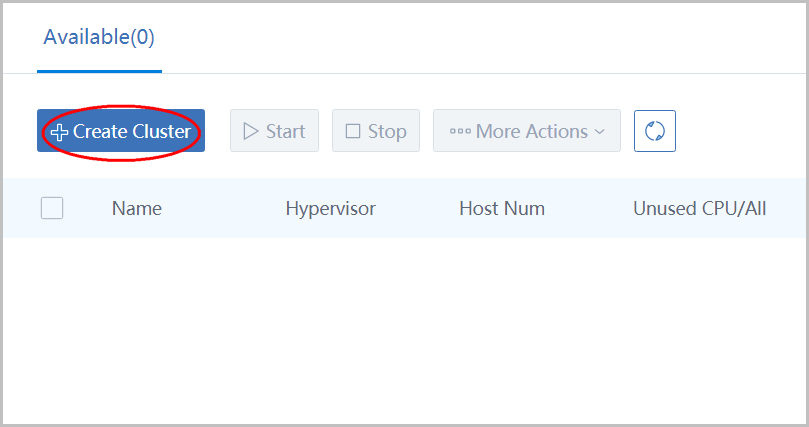
click button 'Create Cluster' to open the dialog:
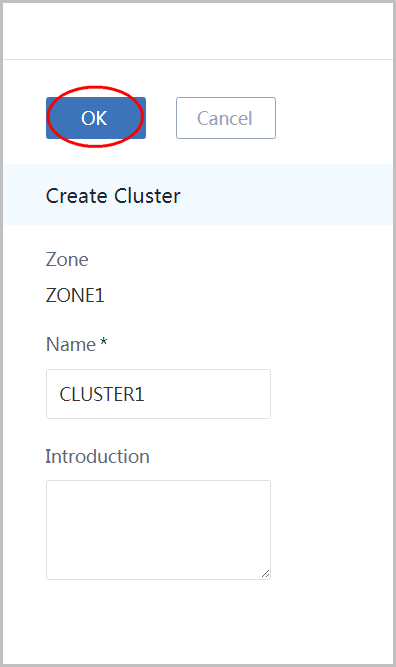
name the cluster as 'CLUSTER1' then click button 'OK':
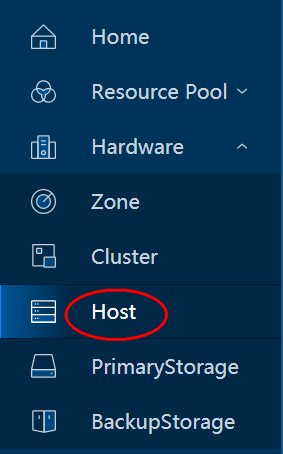
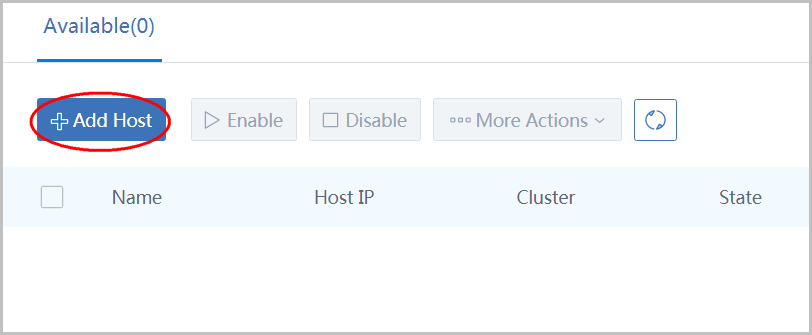
6. Add Host
click 'Host' in the left sidebar to enter host page:
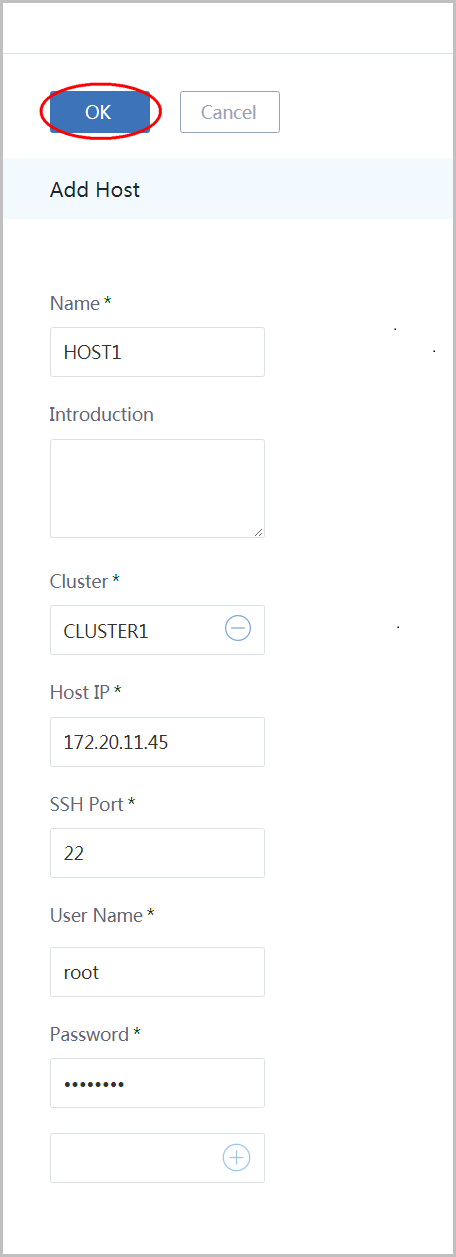
click 'Create Host' button to open the dialog:
- name the host as 'HOST1'
- select cluster(CLUSTER1) you just created
- input the host IP(172.20.11.45)
- input the ssh port(22)
- the most important thing: give SSH credentials for user root
- click 'OK' button
A little slow when first time adding a host
It may take a few minutes to add a host because Ansible will install all dependent packages, for example, KVM, on the host.7. Add Primary Storage
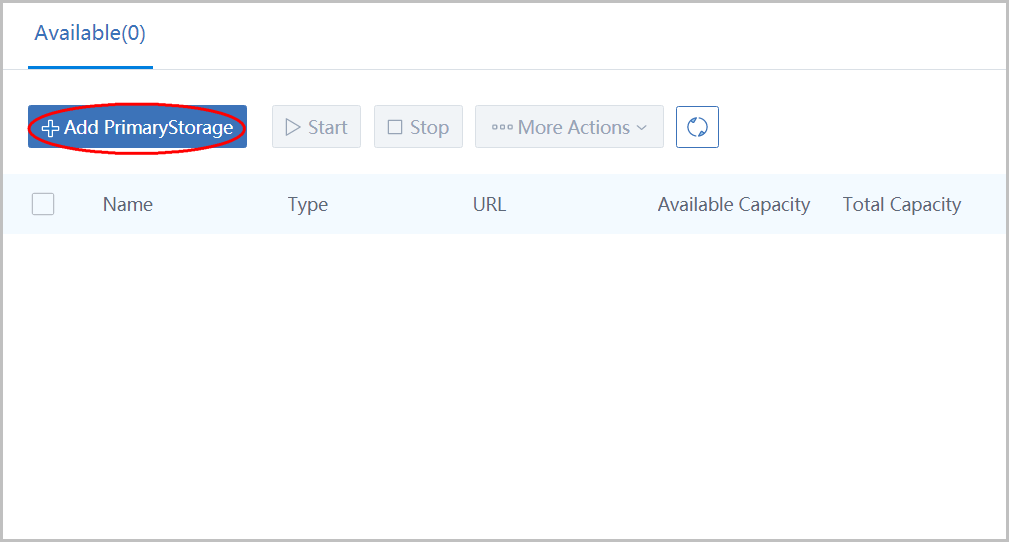
click 'PrimaryStorage' in the left slider to enter primary storage page:

click button 'Add PrimaryStorage' to open the dialog:
- name the primary storage as 'PS1'
- select type 'LocalStorge'
- input url(/zstack_ps)
- select cluster 'CLUSTER1'
- click button 'OK'
Format of URL
The format of URL is exactly the same to the one used by Linux mount command.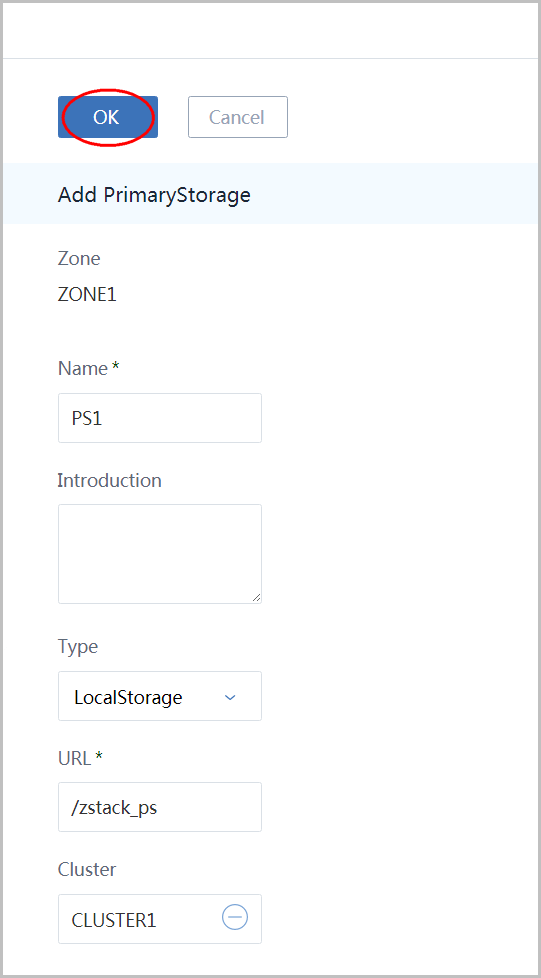
It's actually multiple API calls
You will see two API finishing notification because it actually calls two APIs: addPrimaryStorage and attachPrimaryStorageToCluster.8. Add Backup Storage
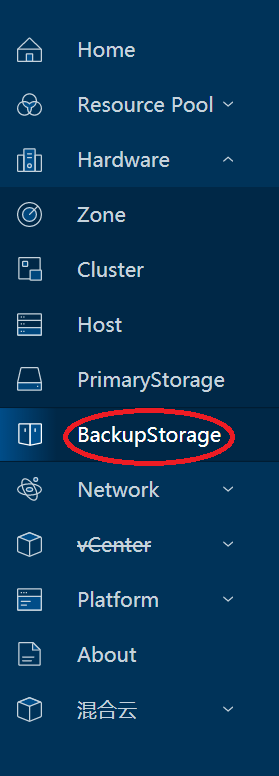
click 'BackupStorage' in left sidebar to enter backup storage page:
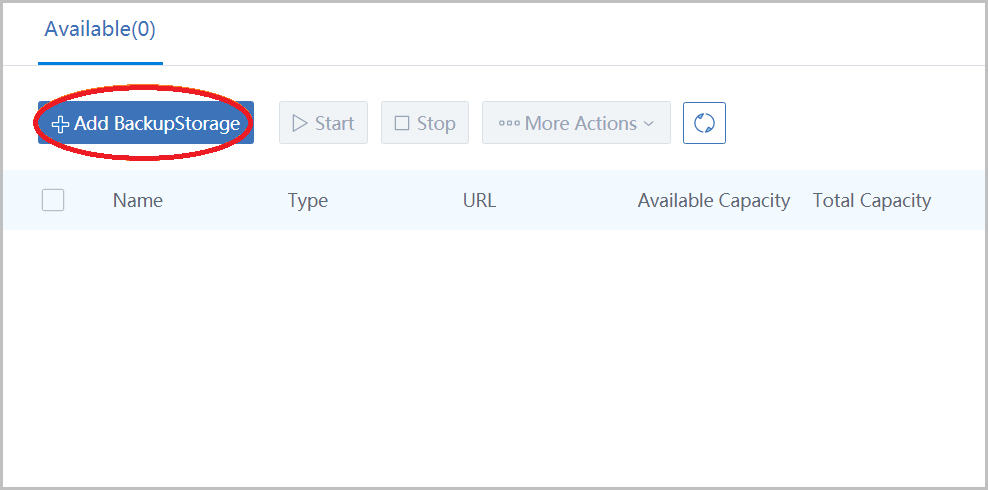
click button 'Add BackupStorage' to open the dialog:
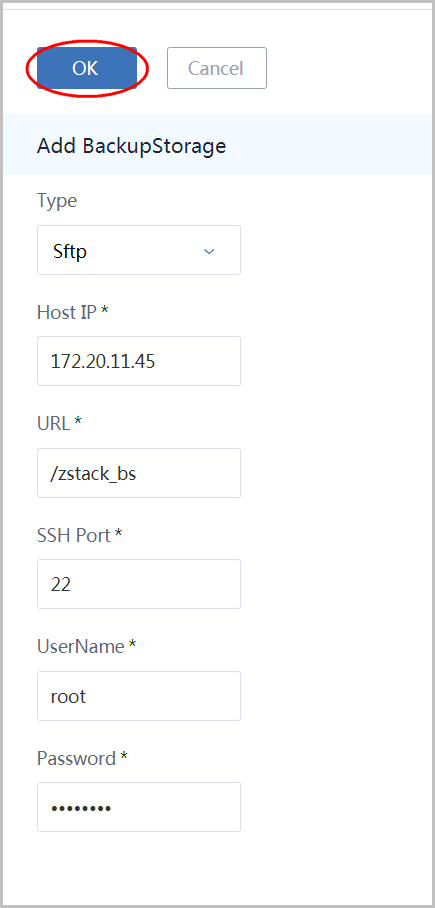
- name the backup storage as 'BS1'
- choose type 'Sftp'
- input IP(172.20.11.45) in host IP
- input URL '/zstack_bs' which is the folder that will store images

Input ssh port(22), input SSH credentials for user root, and click button 'OK':
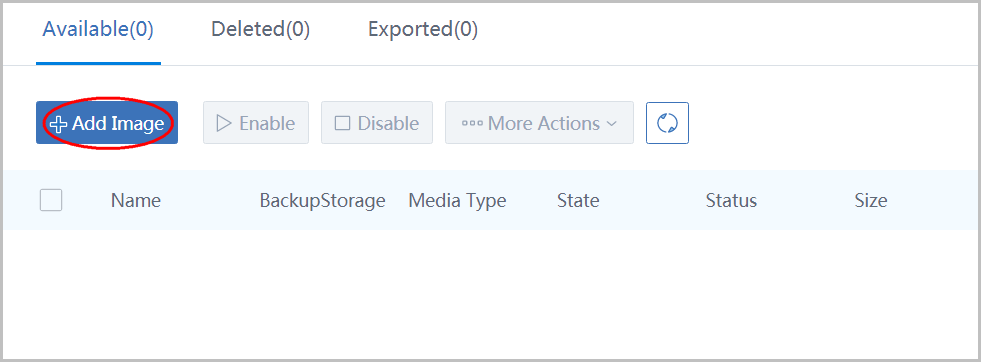
9. Add Image
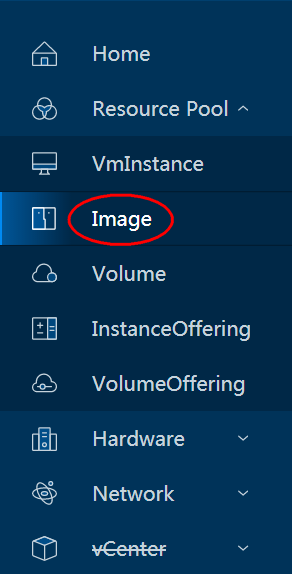
click 'Resource Pool' in left sidebar and click 'Image' to enter image page:
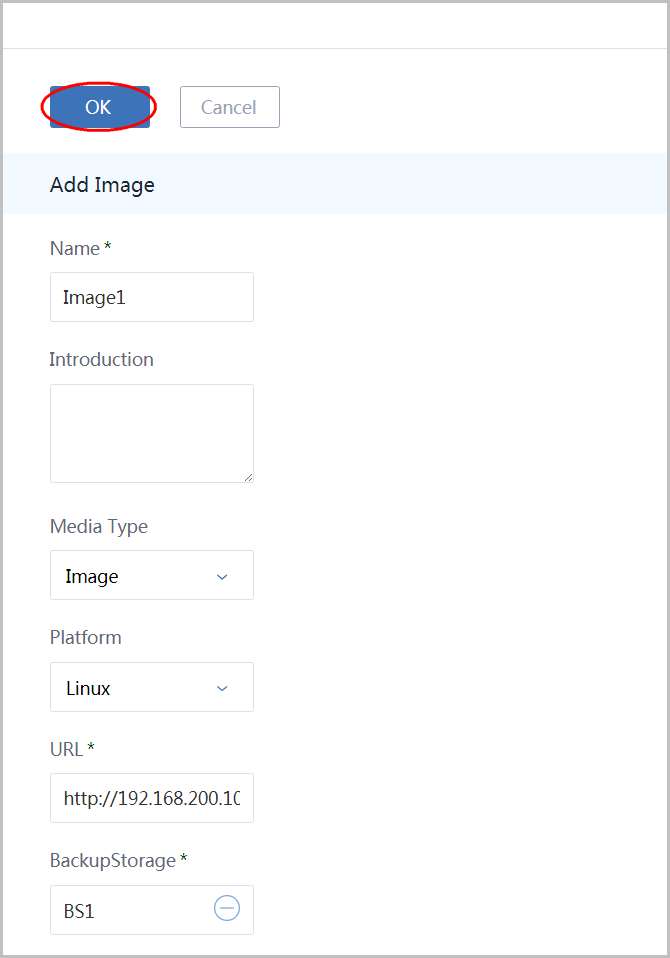
click button 'Add Image' to open the dialog:
- name the image as 'Image1'
- select media type 'Image'
- select platform 'Linux'
- input URL http://cdn.zstack.io/product_downloads/images/zstack-image.qcow2
- select BackupStorage 'BS1'
- click button 'OK'
this image will be used as user VM image.
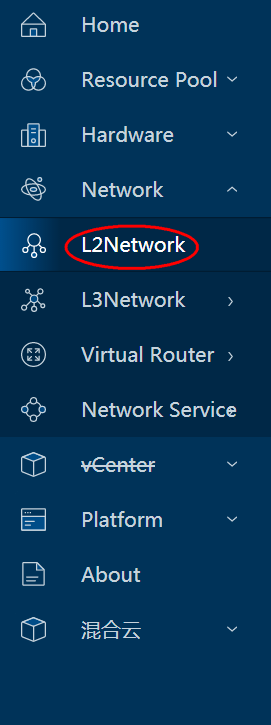
10. Create L2 Network
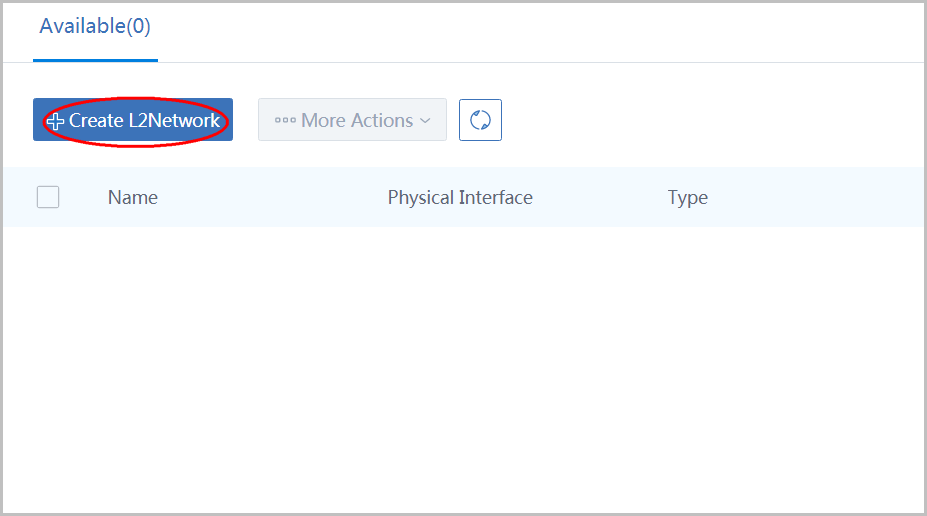
click 'Network' in left sidebar and click 'L2Network' to enter L2 network page:
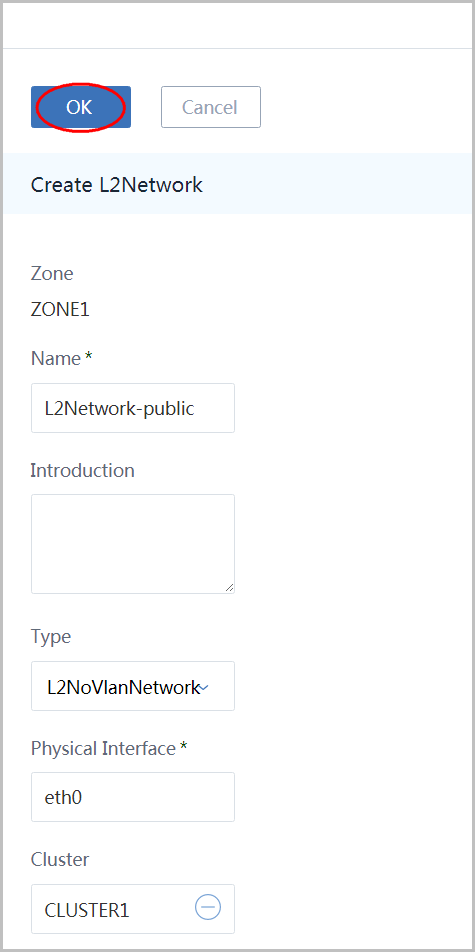
click button 'Create L2Network' to open the dialog:
- name the L2 network as 'L2Network-public'
- choose type 'L2NoVlanNetwork'
- input physical interface as 'eth0'
- select cluster 'CLUSTER1'
- click button 'OK'
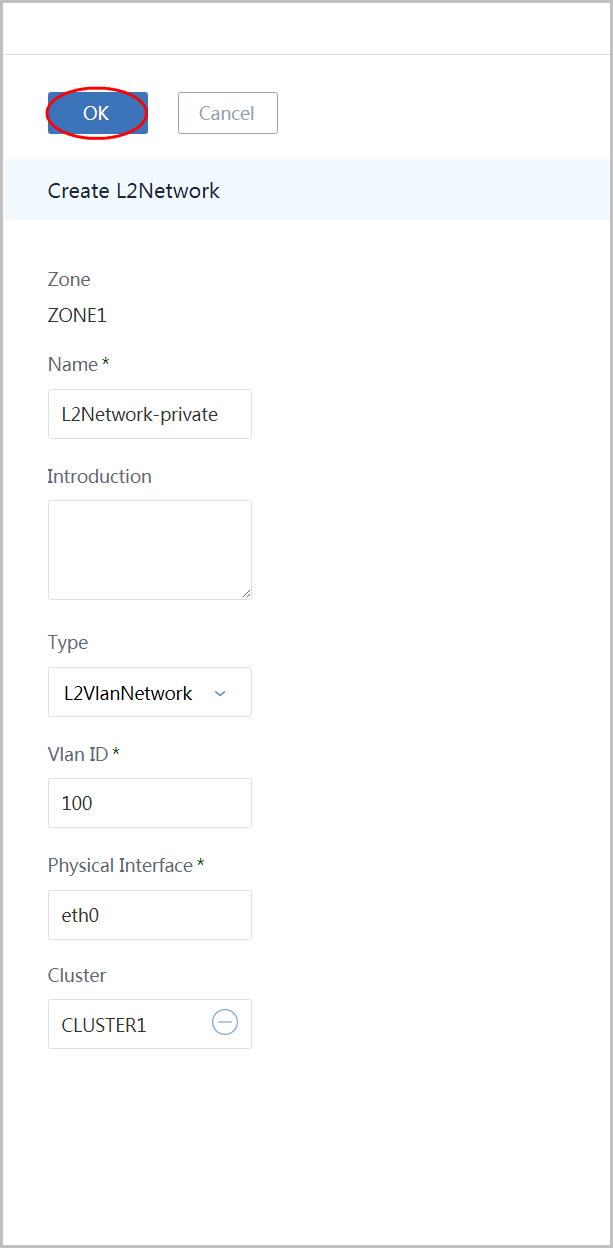
click 'Create L2Network' again to create the private L2 network:
- name the L2 network as 'L2Network-private'
- choose type 'L2VlanNetwork'
- input vlan as '100'
- input physical interface as 'eth0'
- select cluster(CLUSTER1) to attach
- click button 'OK':
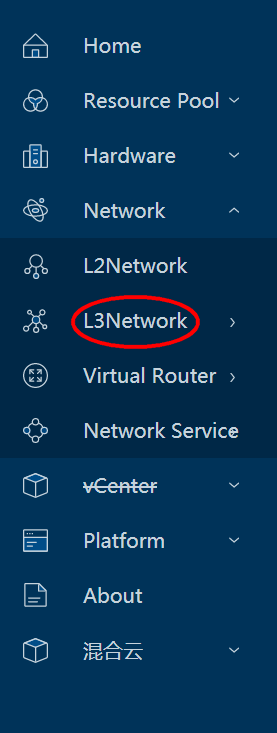
11. Create L3 Network
click 'L3Network' in left sidebar to enter L3 network page:
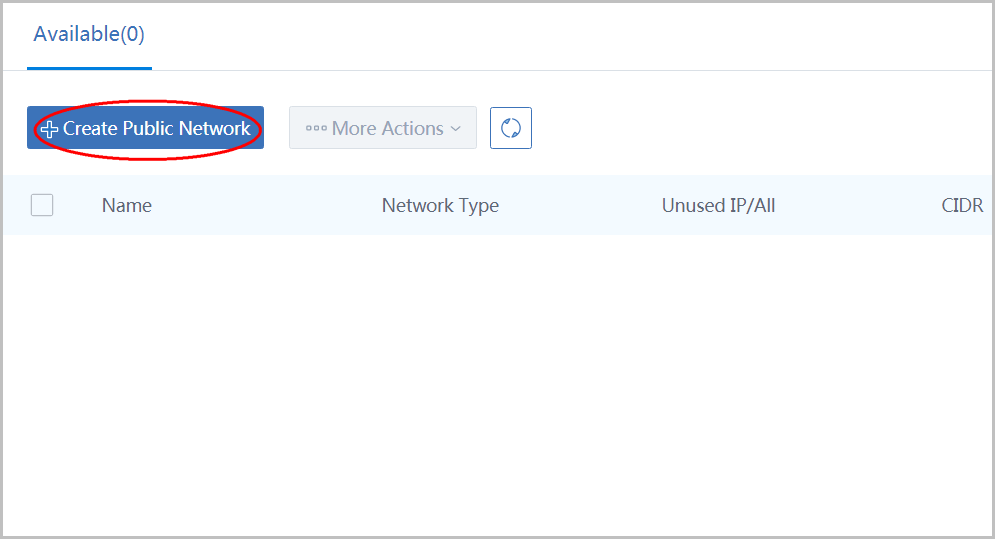
click 'Public Network' in sidebar to enter L3 public network page:
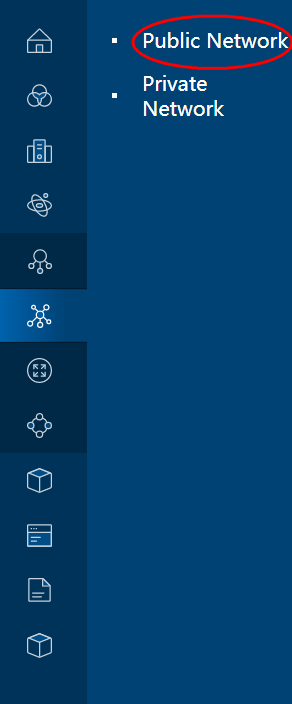
click button 'Create Public Network' to open the dialog:
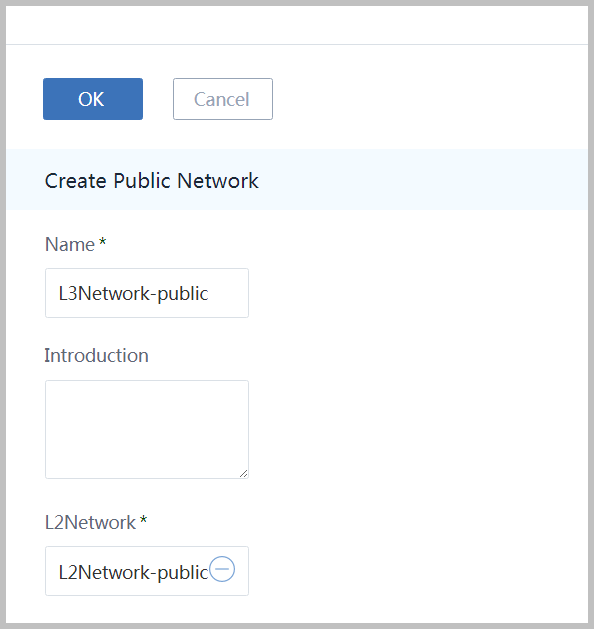
Name the L3 network as 'L3Neywork-public' and select L2Network 'L2Network-private'
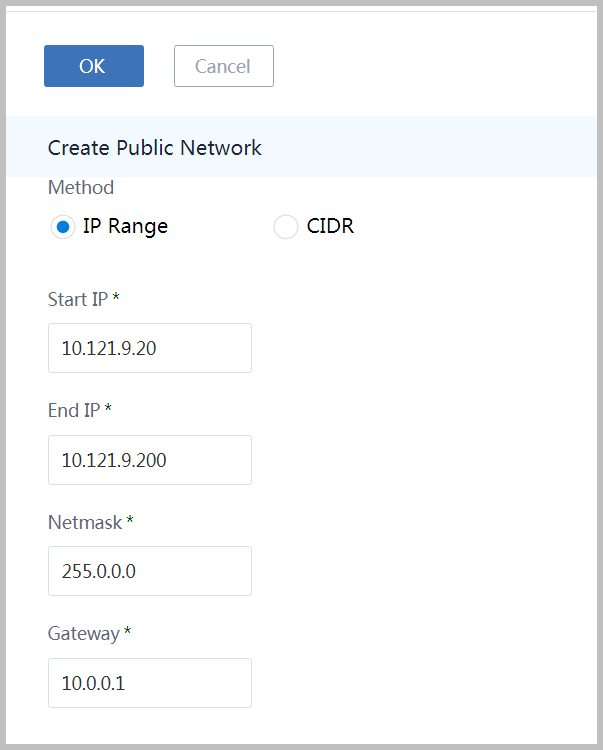
- choose method 'IP Range'
- input start IP as '10.121.9.20'
- input end IP as '10.121.9.200'
- input netmask as '255.0.0.0'
- input gateway as '10.0.0.1'
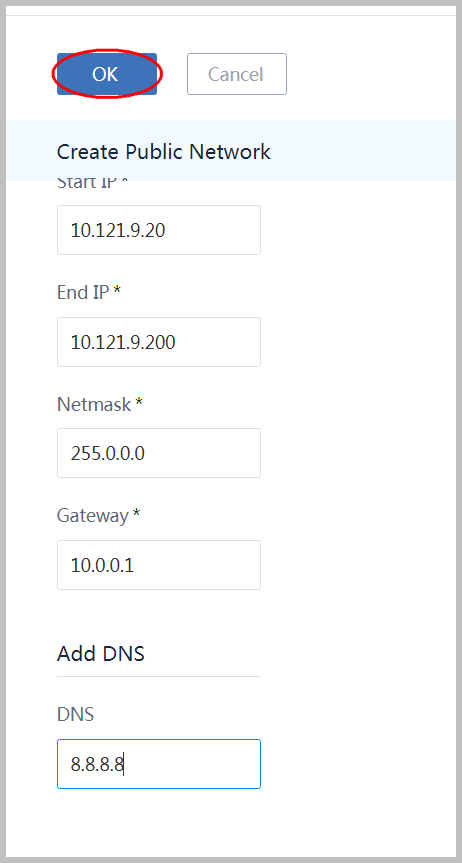
Input DNS as '8.8.8.8' and click button 'OK'
No network services needed for PUBLIC-MANAGEMENT-L3'
No user VMs will be created on the public L3 network in this tutorial, so we don't specify any network services for it.12. Create Router Image
click 'Virtual Router' in left sidebar and click 'Virtual Router Image' to enter virtual router image page:
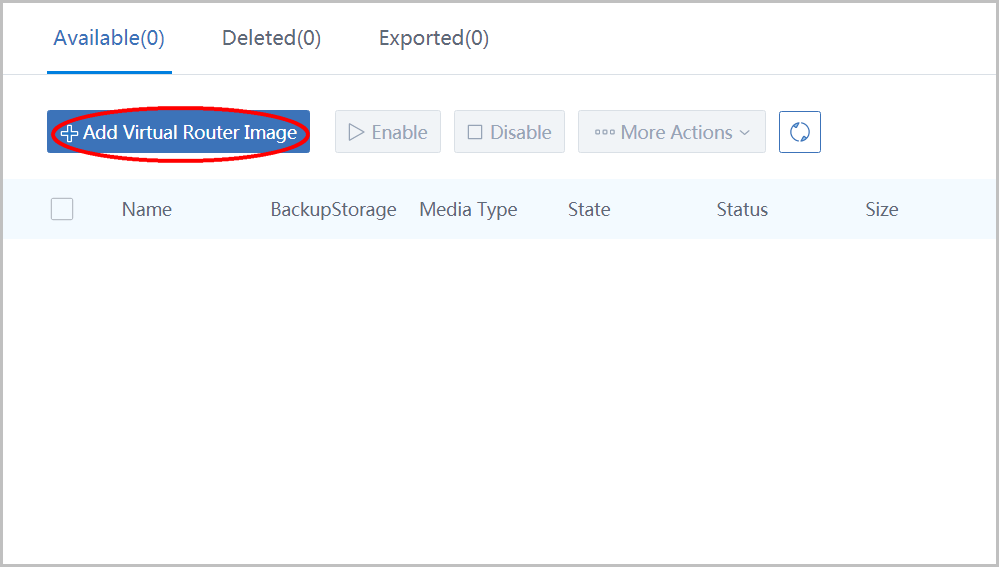
click button 'Add Virtual Router Image' to open the dialog:
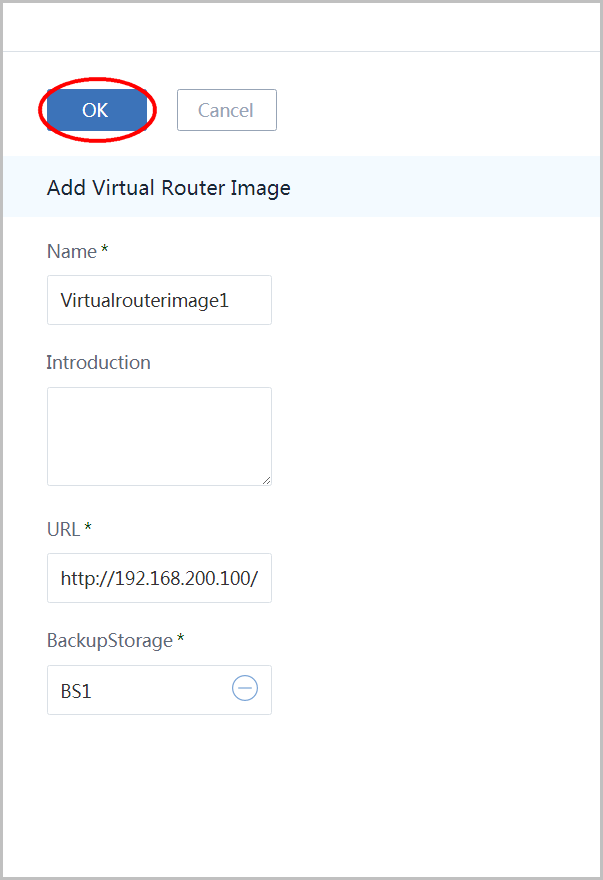
- name the virtual router image as 'Virtualrouterimage1'
- input URL where latest cloud route mirroring is
- seclect BackupStorage 'BS1'
- click button 'OK'
13. Create Virtual Router Offering
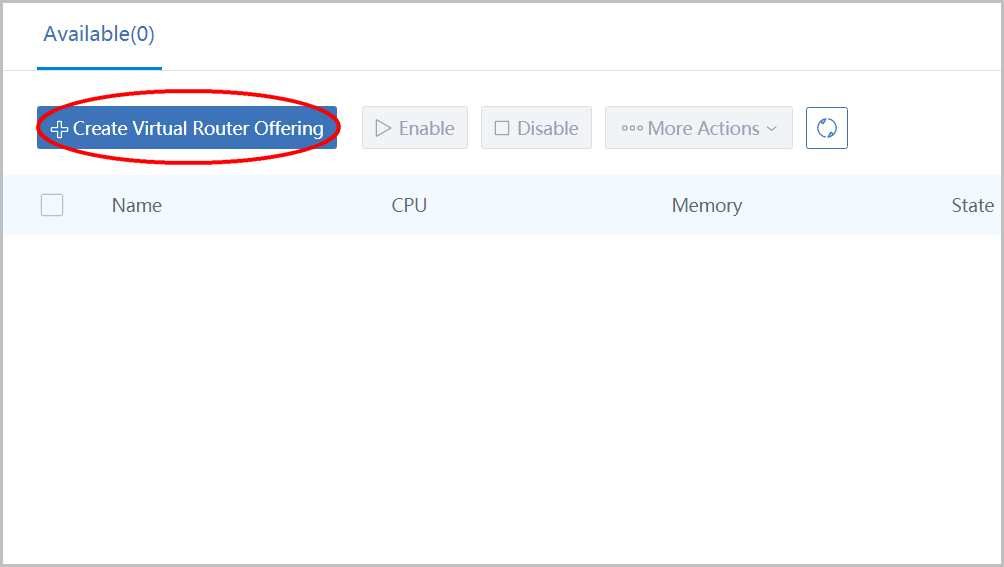
click 'Virtual Router Offering' in the left sidebar to enter virtual router offering page:
click 'Create Virtual Router Offering' to open the dialog:
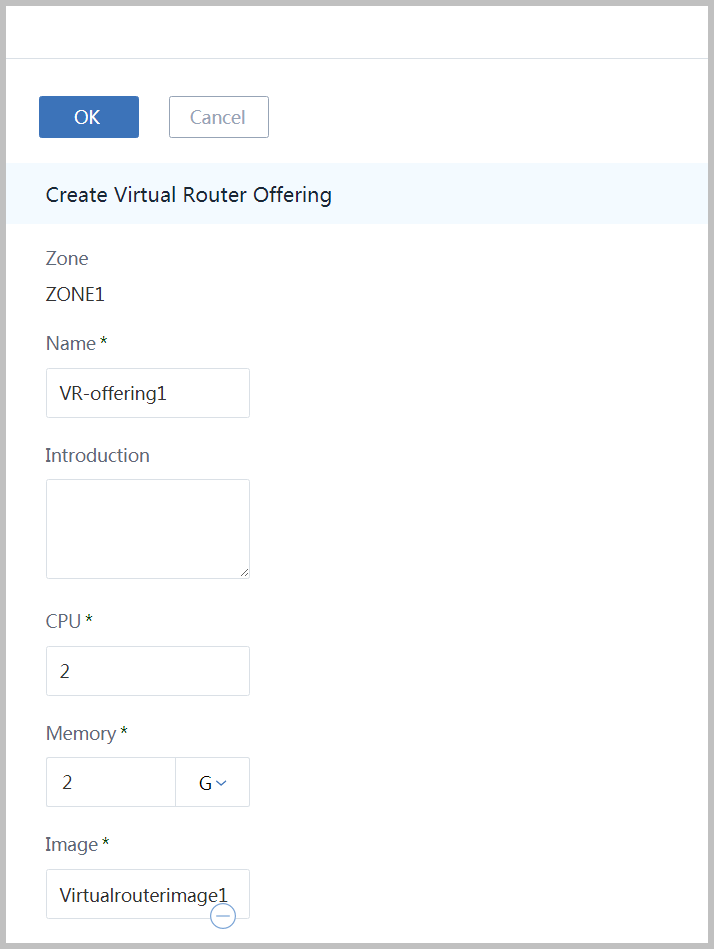
- name the virtual router offering as 'VR-offering1'
- input CPU NUM as '2'
- input CPU speed as '2'
- choose image 'Virtualrouterimage1'
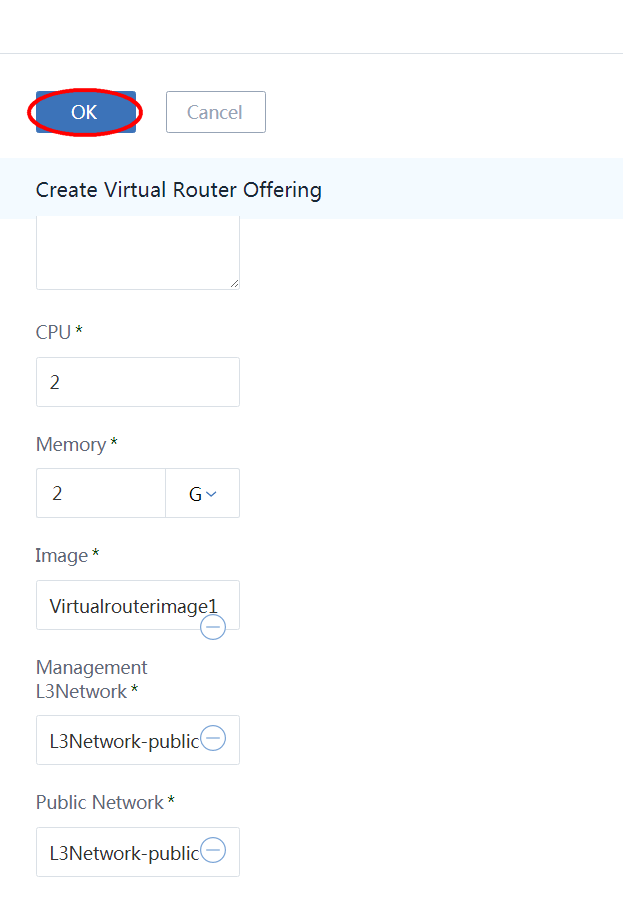
Choose management L3 network 'L3Network-public' , choose public L3 network 'L3Network-public' and click button 'OK'
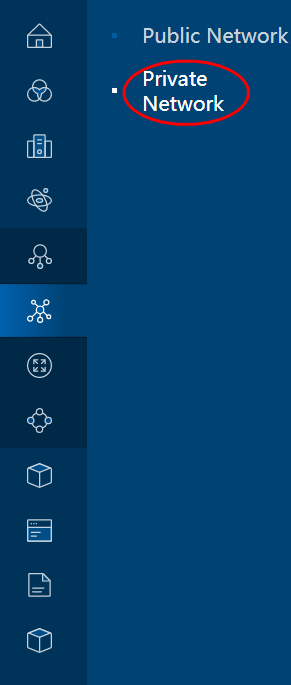
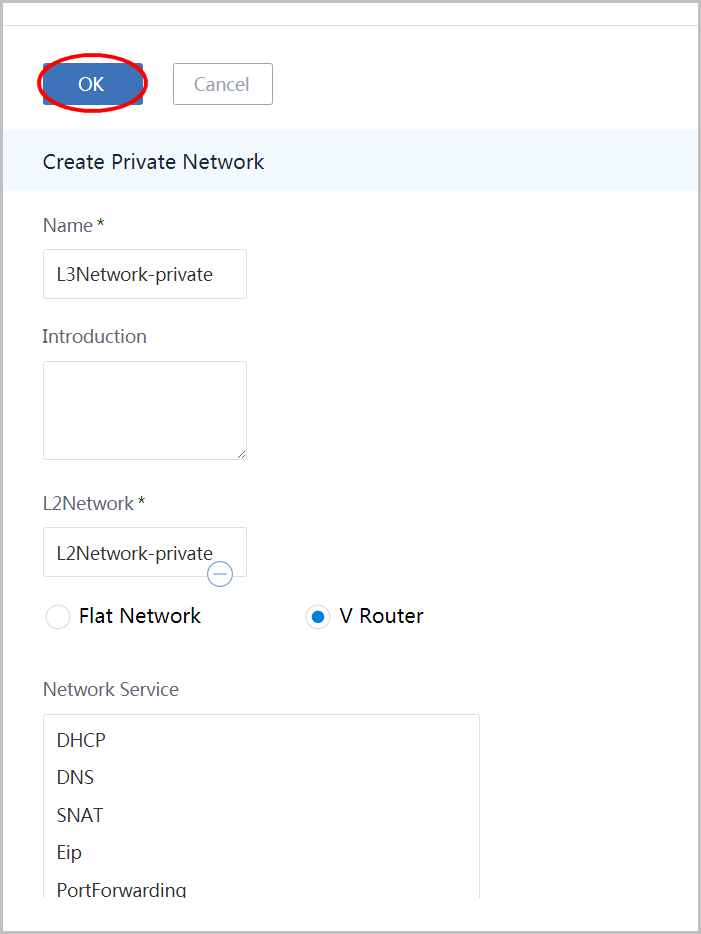
14. Create Private Network
click 'Network' in the left sidebar, click 'L3Network' and click 'Private Network' to enter L3Network private network page:
click 'Create Private Network' button again to create the private L3 network:
- name the L3 network as 'L3Network-private'
- choose L2Network 'L2Network-private'
- choose type 'V Router'
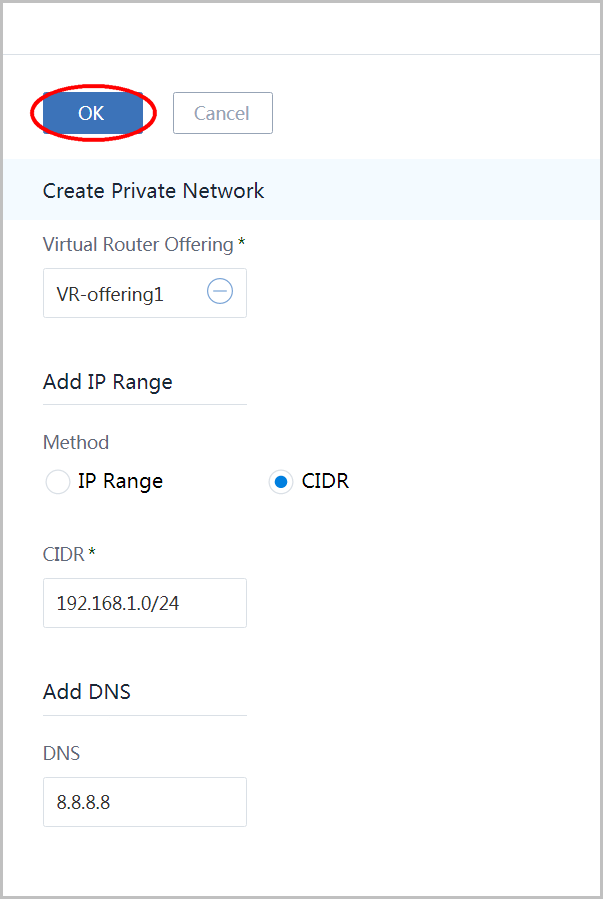
- choose Virtual Router Offering 'VR-offering1'
- choose method 'CIDR'
- input network CIDR as '192.168.1.0/24'
- input DNS as '8.8.8.8'
- click button 'OK'
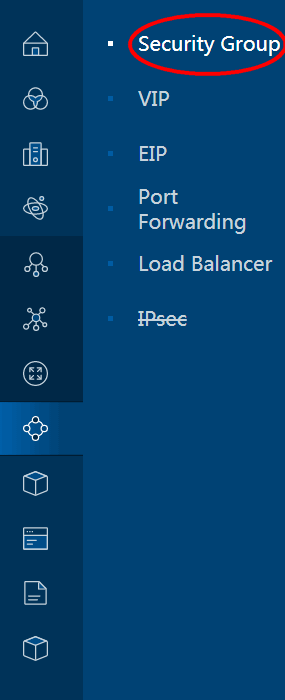
15. Create Security Group
click 'Network Services' in left sidebar and click 'Security Group' to enter security group page:
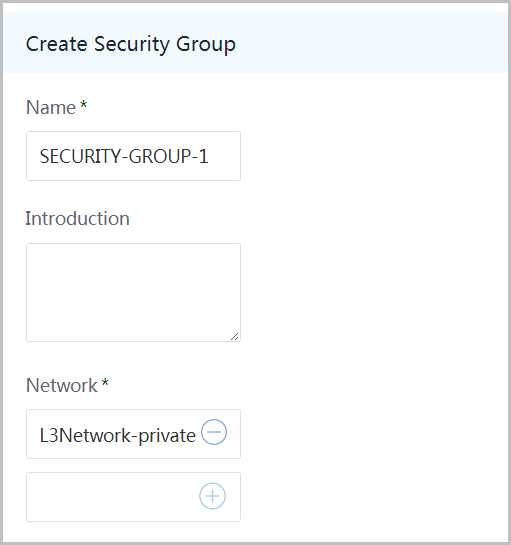
click button 'Create Security Group' to open the dialog:
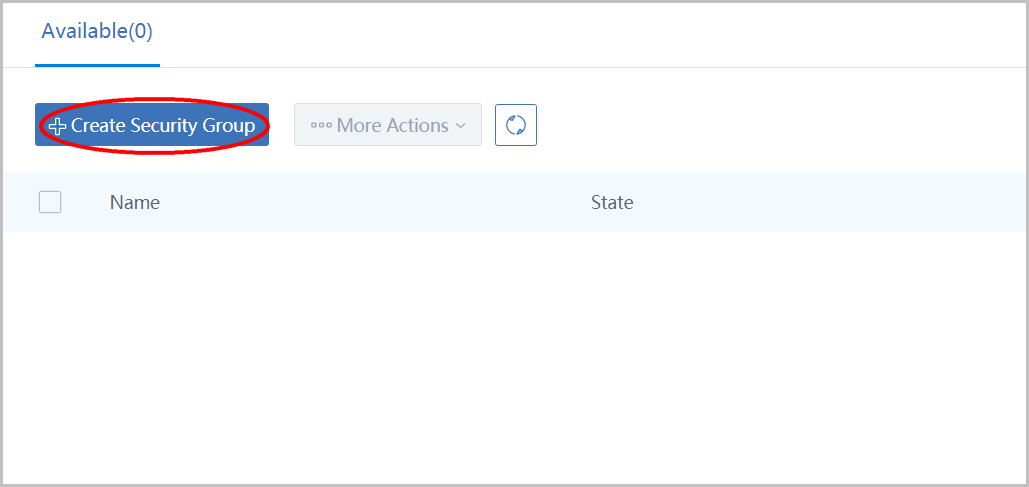
Input name as 'SECURITY-GROUP-1' and select Network as 'L3Network-private':
Select rule to open setting rules page: 1. select type 'Ingress' 2. select protocol as 'TCP' 3. input start port as 23 4. input end port as 200 5. click button 'OK'
This rule is world open
Here we ignore field 'ALLOWED CIDR', the default CIDR will be 0.0.0.0/0 that makes the port 22 world open. You can specify a CIDR(e.g. 16.16.16.0/24, 16.16.16.16/32) to restrict what traffics can access the port.ICMP start port & end port
If select ICMP, the start port and end port mean ICMP type. To use '-1' for all ICMP types. For details port definition, please visit [ZStack API Doc](http://zstackdoc.readthedocs.org/en/latest/userManual/securityGroup.html#security-group-rule-inventory)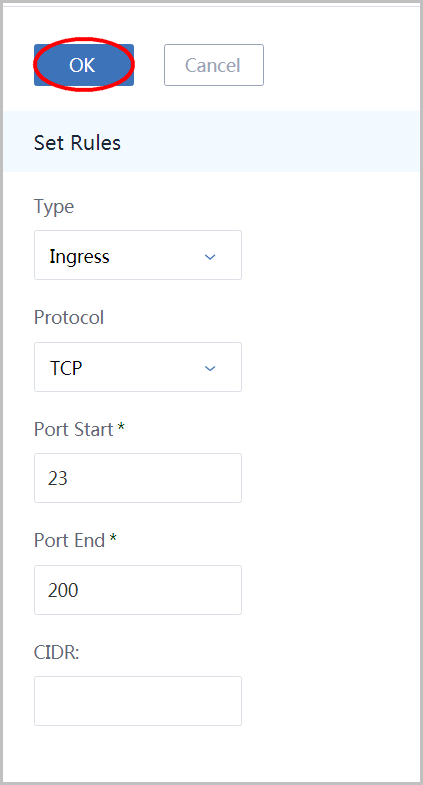
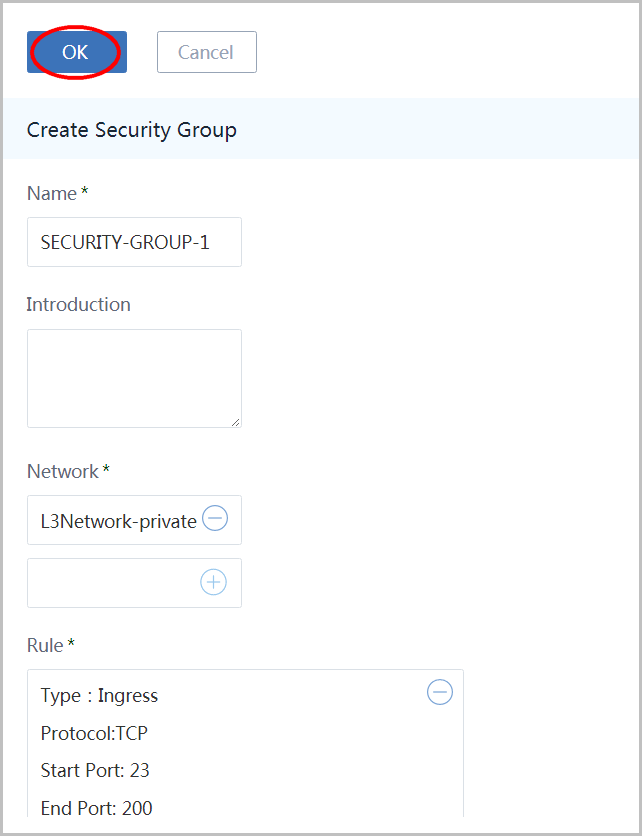
Click button 'OK':
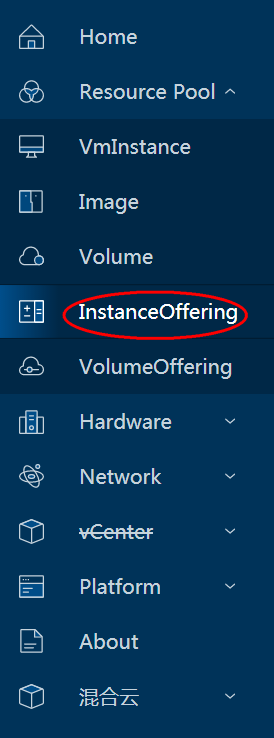
16. Create Instance Offering
click 'Resource Pool' in the left sidebar and click 'InstanceOffering' to enter instance offering page:
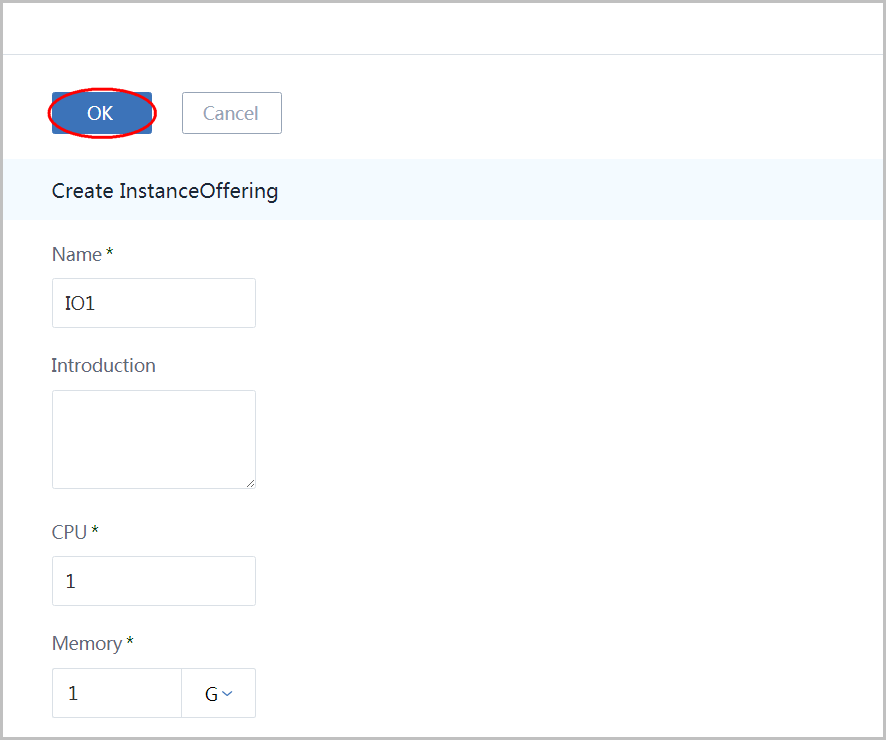
click button 'Create InstanceOffering' to open the dialog:
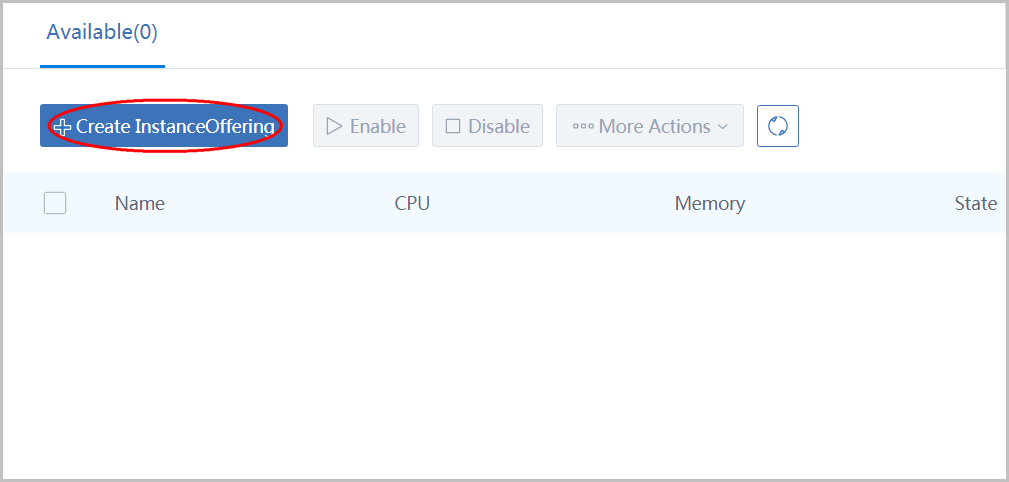
- input name as 'IO1'
- input CPU as '1'
- input Memory as '1'
- click button 'OK'
17. Create INNER-VM
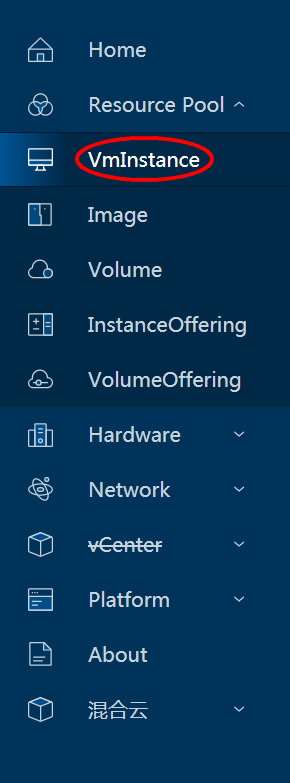
click 'Resource Pool' in the left sidebar and click 'VmInstance' to enter VM instance page:
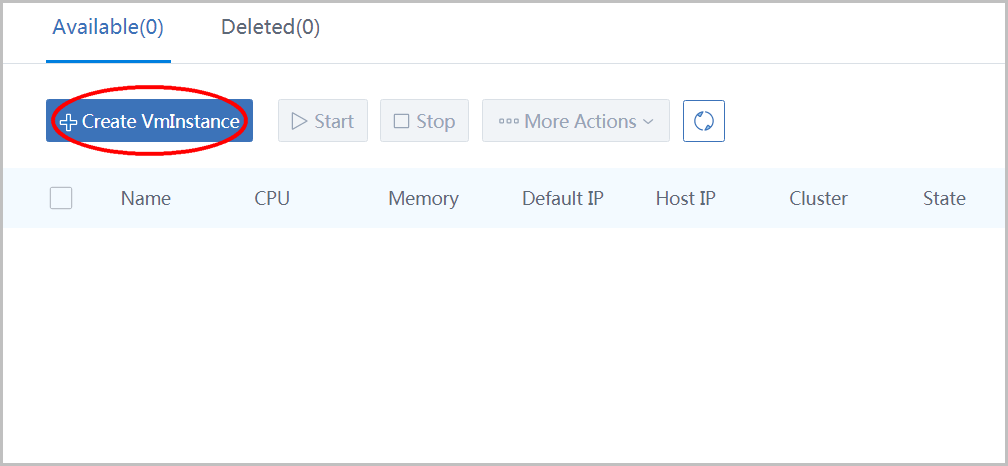
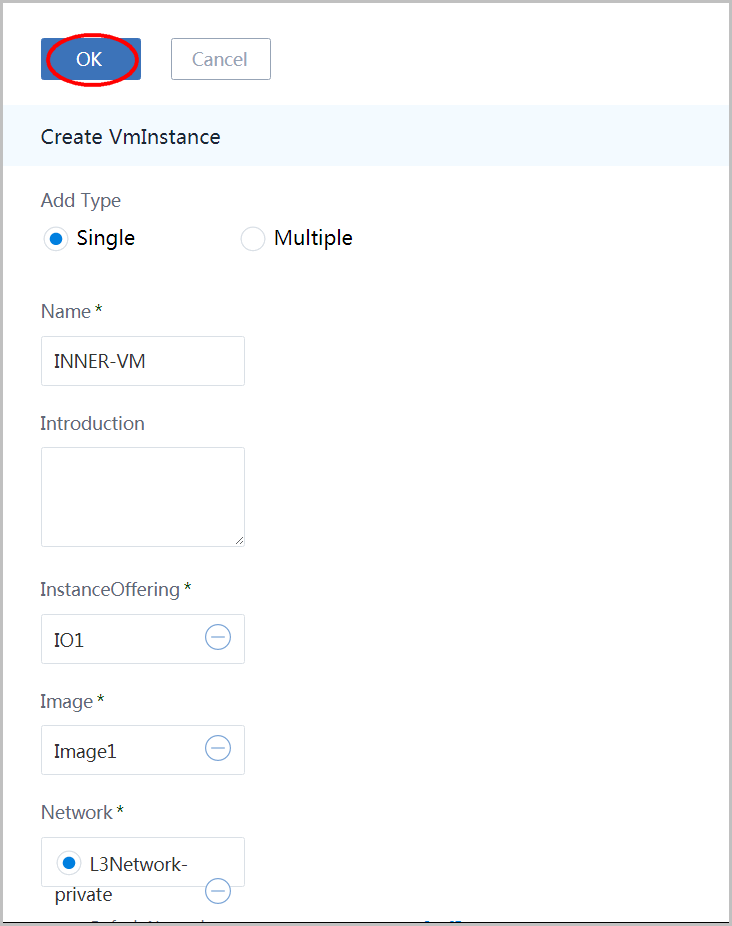
click button 'Create VmInstance' to open the dialog:
- choose Type 'Single'
- input name as 'INNER-VM'
- choose instance offering 'IO1'
- choose image 'Image1'
- choose network 'L3Network-private'
- click button 'OK'
The first user VM takes more time to create
For the first user VM, ZStack needs to download the image from the backup storage to the primary storage and create a virtual router VM on the private L3 network, so it takes about 1 ~ 2 minutes to finish.18. Join INNER-VM Into Security Group
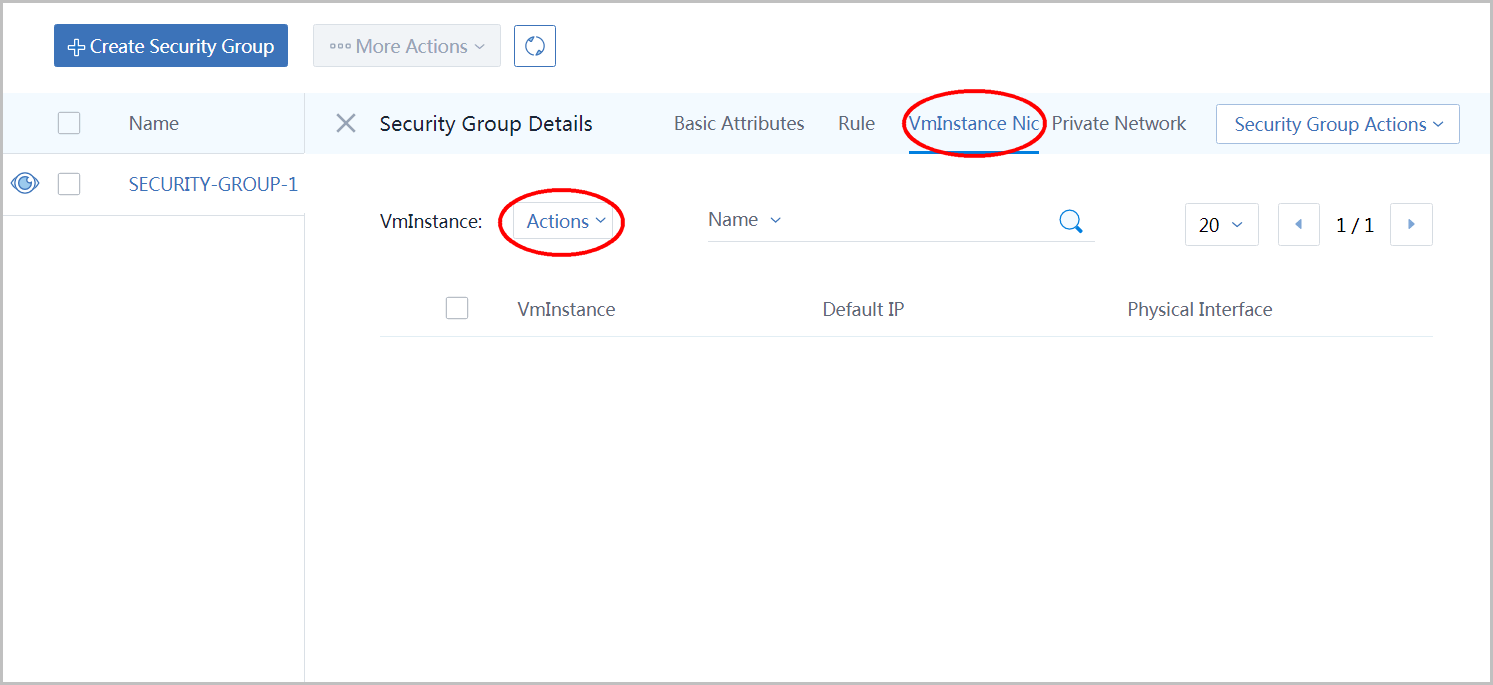
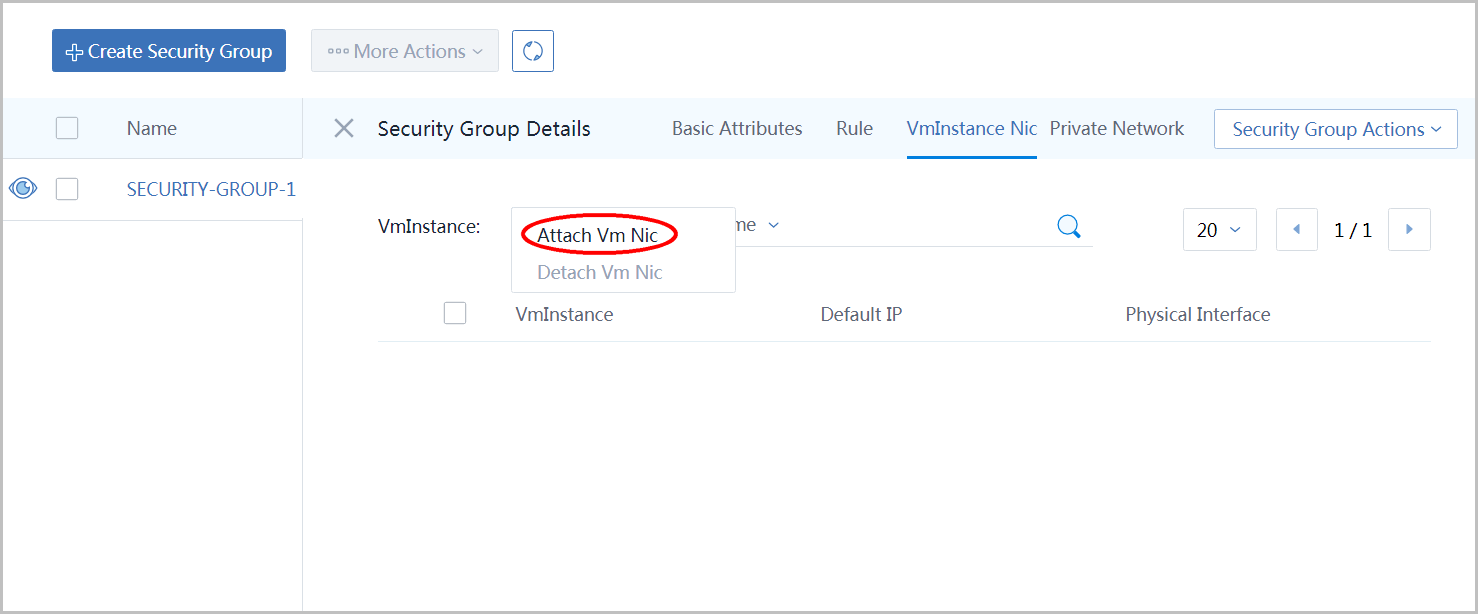
In security group page, select 'SECURITY-GROUP-1', then click button 'VmInstance Nic',click button 'Action' and select item 'Add Vm Nic':
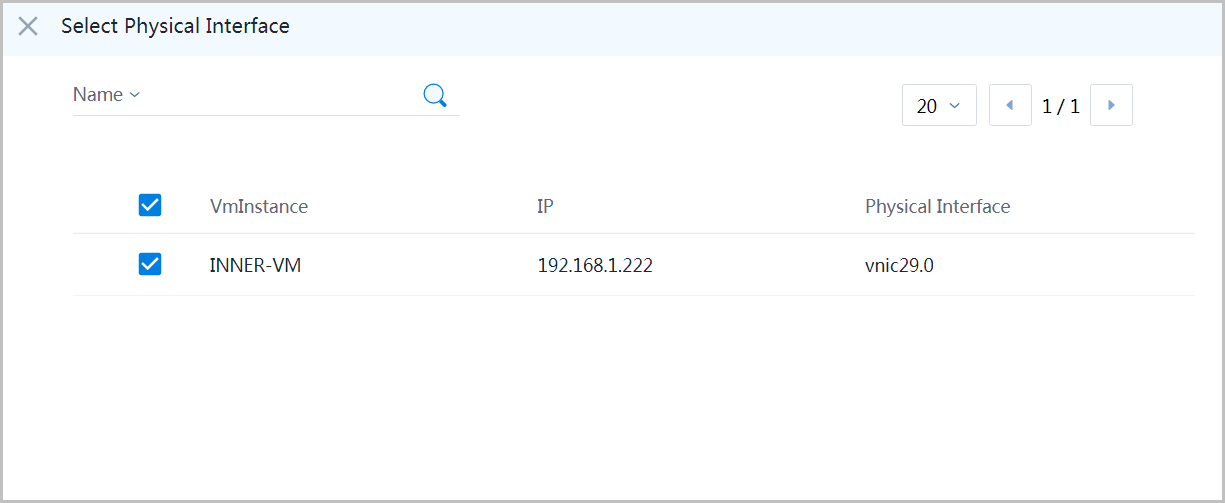
- select the only nic of INNER-VM
- click button 'OK'
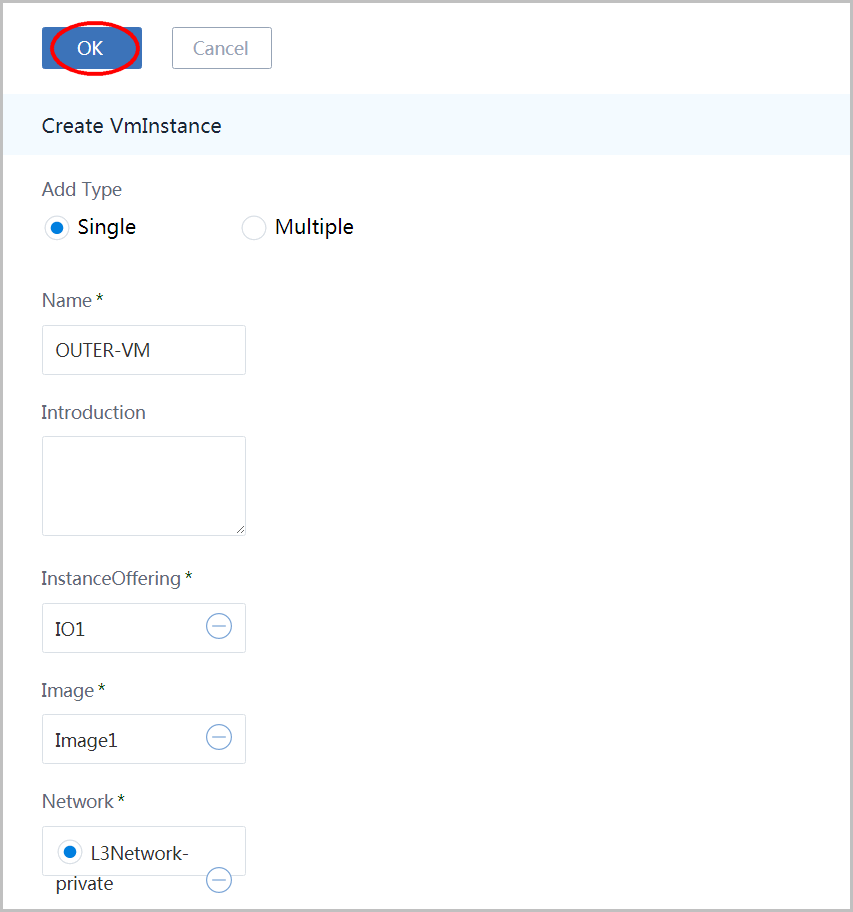
19. Create OUTER-VM
go to vm instance page and click button 'Create VmInstance' again to create OUTER-VM:
- choose Type 'Single'
- input name as 'OUTER-VM'
- choose instance offering 'IO1'
- choose image 'Image1'
- choose network 'L3Network-private'
- click button 'OK'
Subsequent VMs are created extremely fast
As the image has been downloaded to the image cache of the primary storage and the virtual router VM has been created, new VMs will be created extremely fast, usually less than 3 seconds.20. SSH Login INNER-VM From OUTER-VM
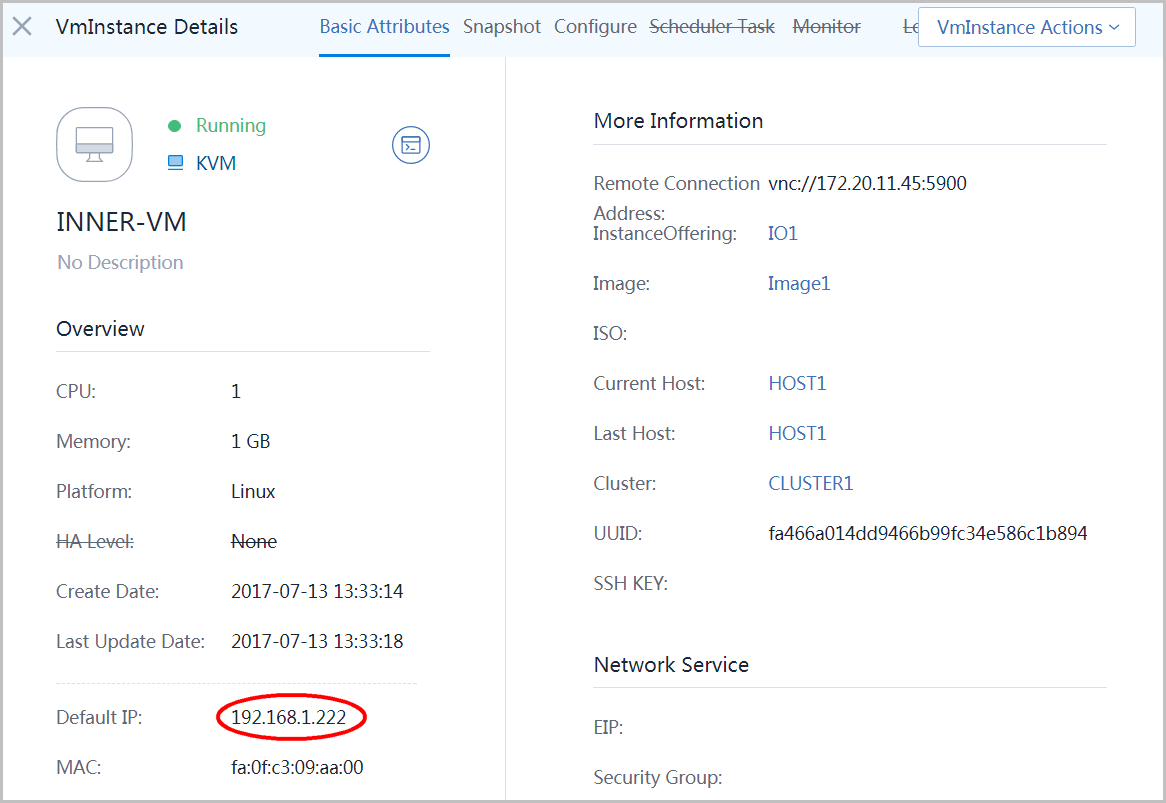
go to vm instance page:
Click 'INNER-VM' and you can see IP address of INNER-VM: 192.168.1.222
Select OUTER-VM and click button 'Action':
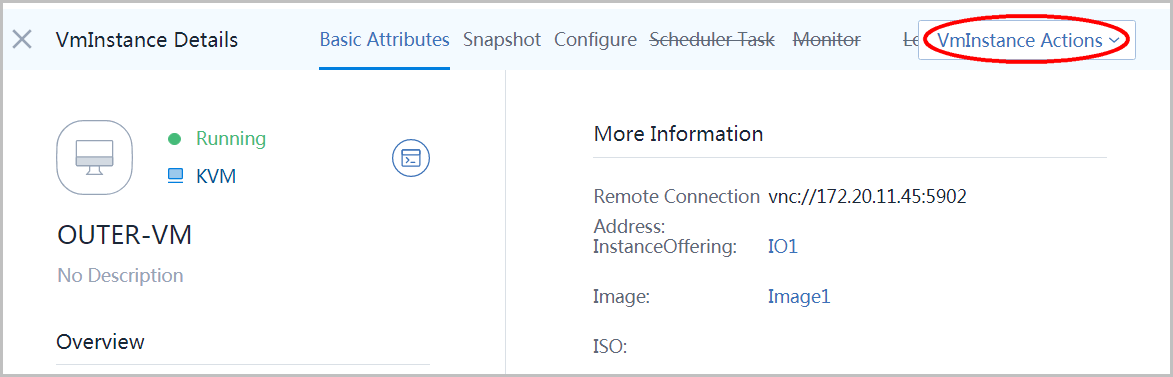
Select item 'Console' to open VNC console

in the popup window, login the VM by username: root.password:password.
- ping INNER-VM(192.168.1.222),it should failed
- ssh INNER-VM(192.168.1.222), it should failed
- run 'ip r', you should see IP (192.168.1.219) that is of OUTER-VM
Using your IP to test
The IP address may be different in your environment, please use the IP showed in your nic page of INNER-VM.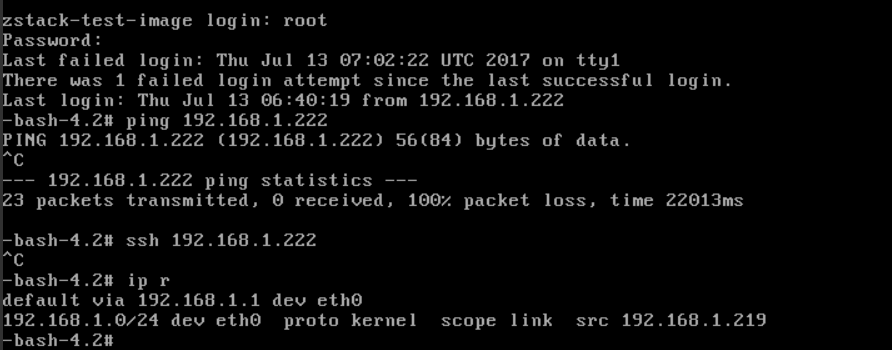
19. Delete Security Group Rule
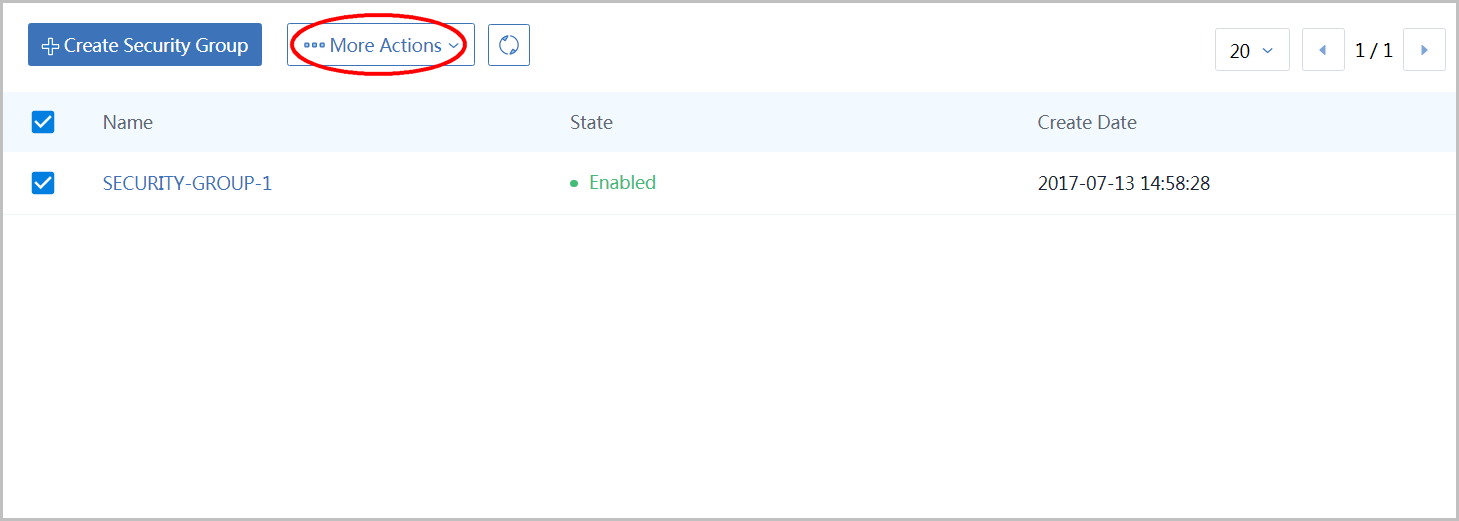
go to security group page:
Select 'SECURITY-GROUP-1' and click button 'More Action'
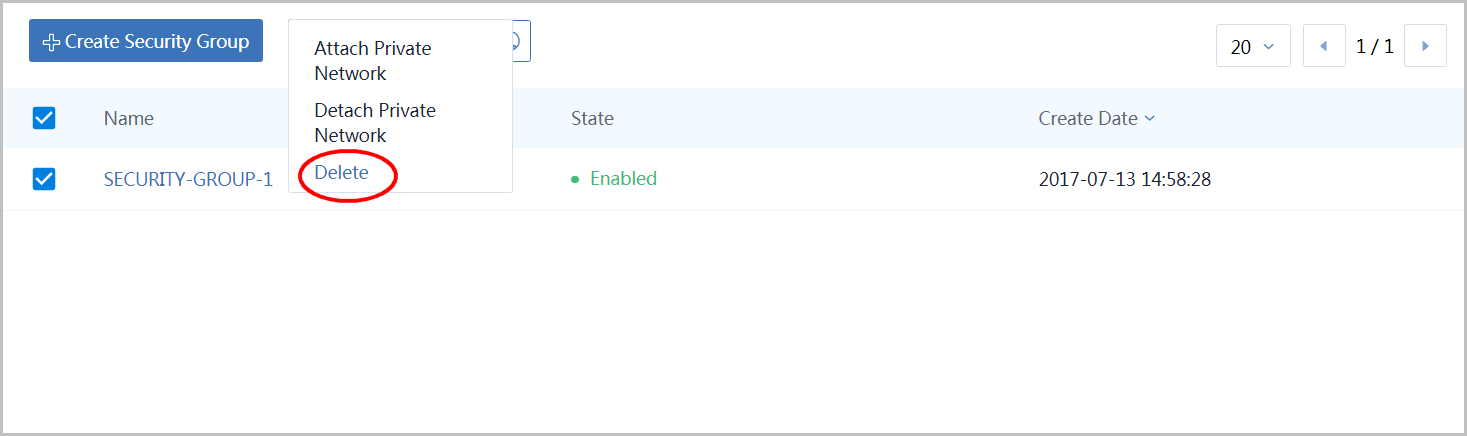
Click button 'Delete'
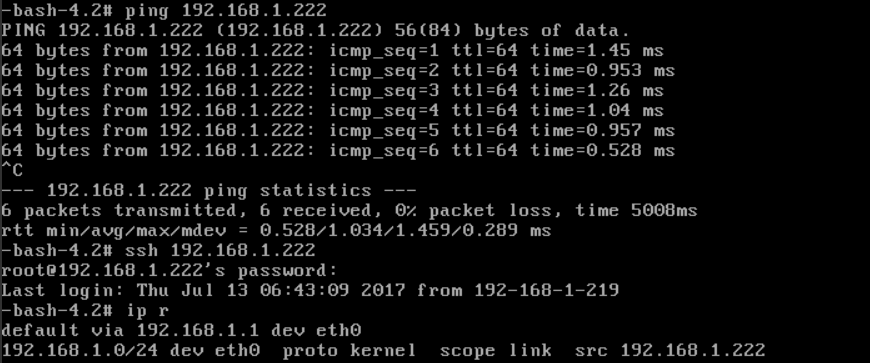
21. Confirm Unable to SSH Login INNER-VM From OUTER-VM
go back to VNC console of OUTER-VM; ping INNER-VM and ssh INNER-VM, it should ssuccess.
Summary
In this tutorial, we showed you the basics of using security group. Though we only show one security group with one L3 network and one VM; you can actually create many security groups and attach them to different L3 networks; you can also put many VMs in the same security group. For more details, please visit Security Group in user manual.